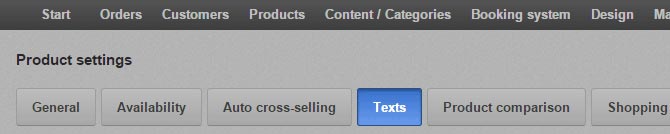
Theme "Simple": How to set up your theme
This guide will assist you to get started with your new theme. Therefore, please read these instructions carefully and follow the steps described.
Start now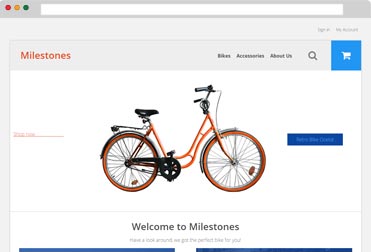
Some changes will directly affect your online shop!
We recommend you to set up the theme during a time where you do not expect many visitors in your shop (e.g. at night). The set up takes about 1 to 2 hours.
Did you already create a backup copy?
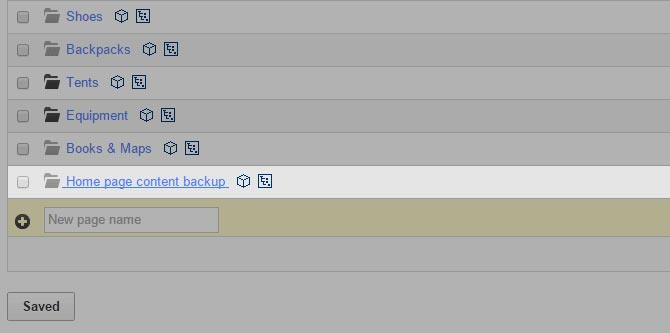
If you already use another theme, then create a backup of the currently active theme and of the current home page content before you install the new theme:
Be aware that the next steps will overwrite your current home page content!
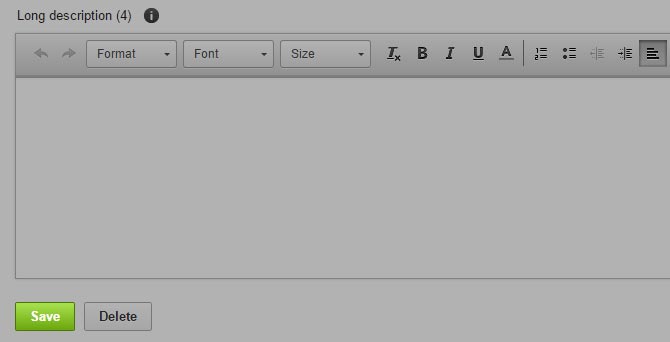
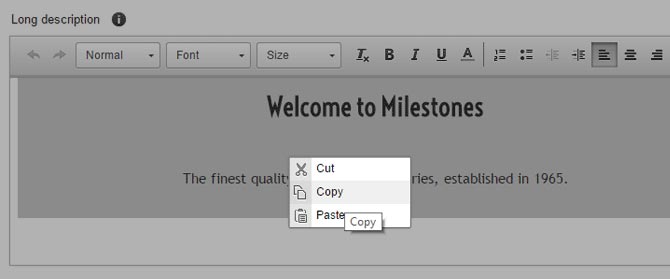
This can be text, images or other content on the start page that is displayed in addition to the product listings.
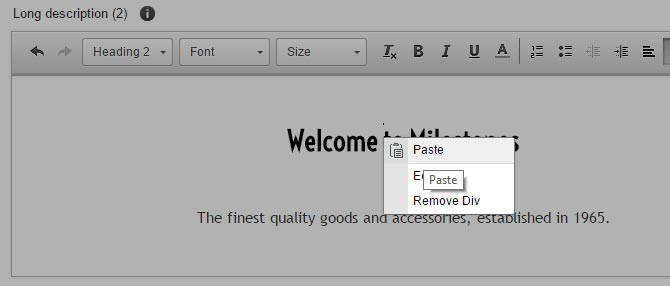
To save a backup copy of your content, please follow these steps before you move on to step 3 and 4.
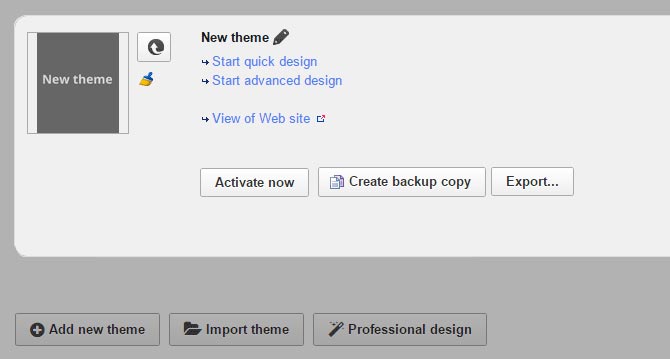
Congratulations!
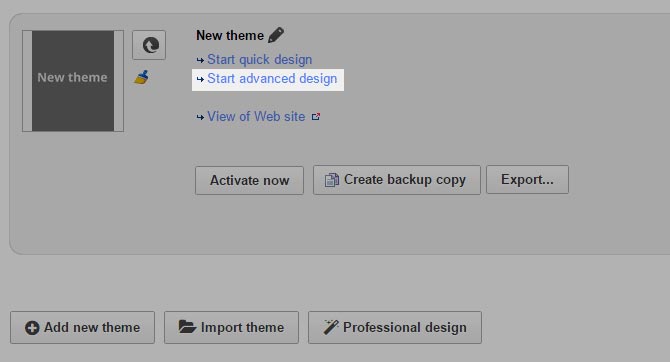
Did you know you can adjust your theme before activating it?
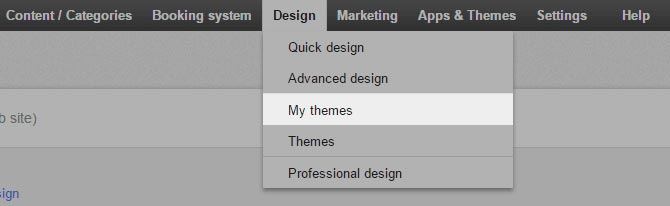
In order to give you more preparation time, we recommend making adjustments before the activation of the new theme. Simply follow the next steps carefully to ensure that the theme is installed properly before you activate it in your shop.
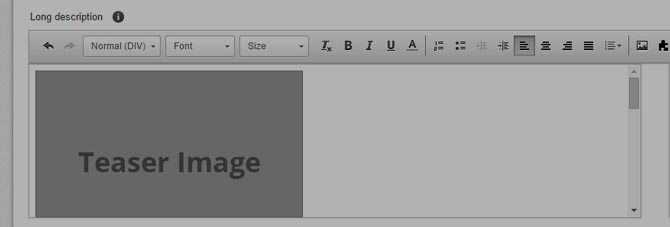
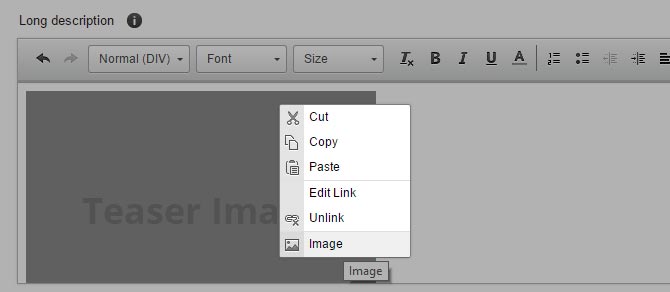
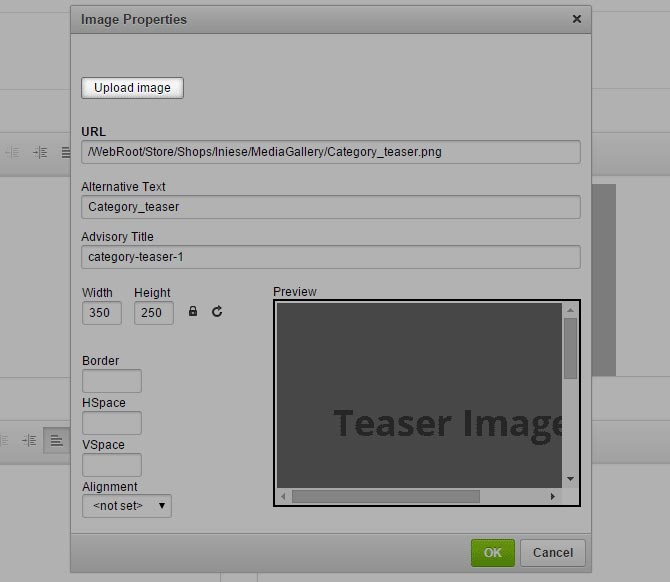
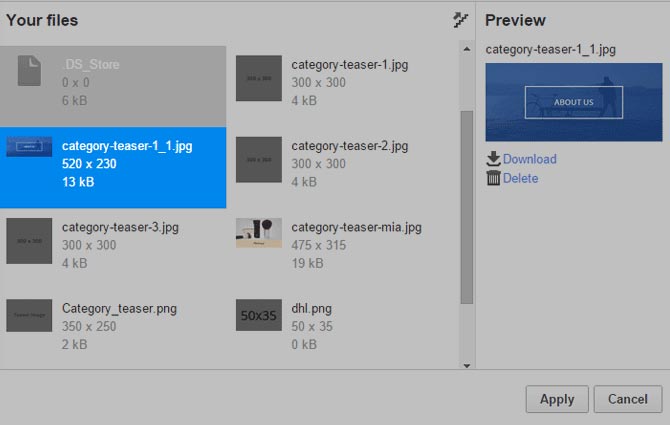
Even though the theme comes ready-to-use, some adjustments are necessary when switching to a new design – for example exchanging the theme’s placeholder images with your own images.
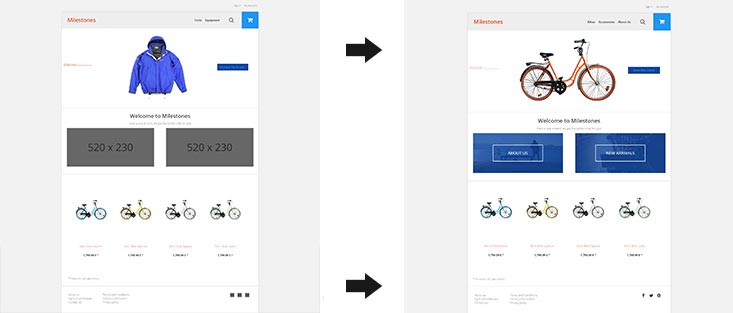
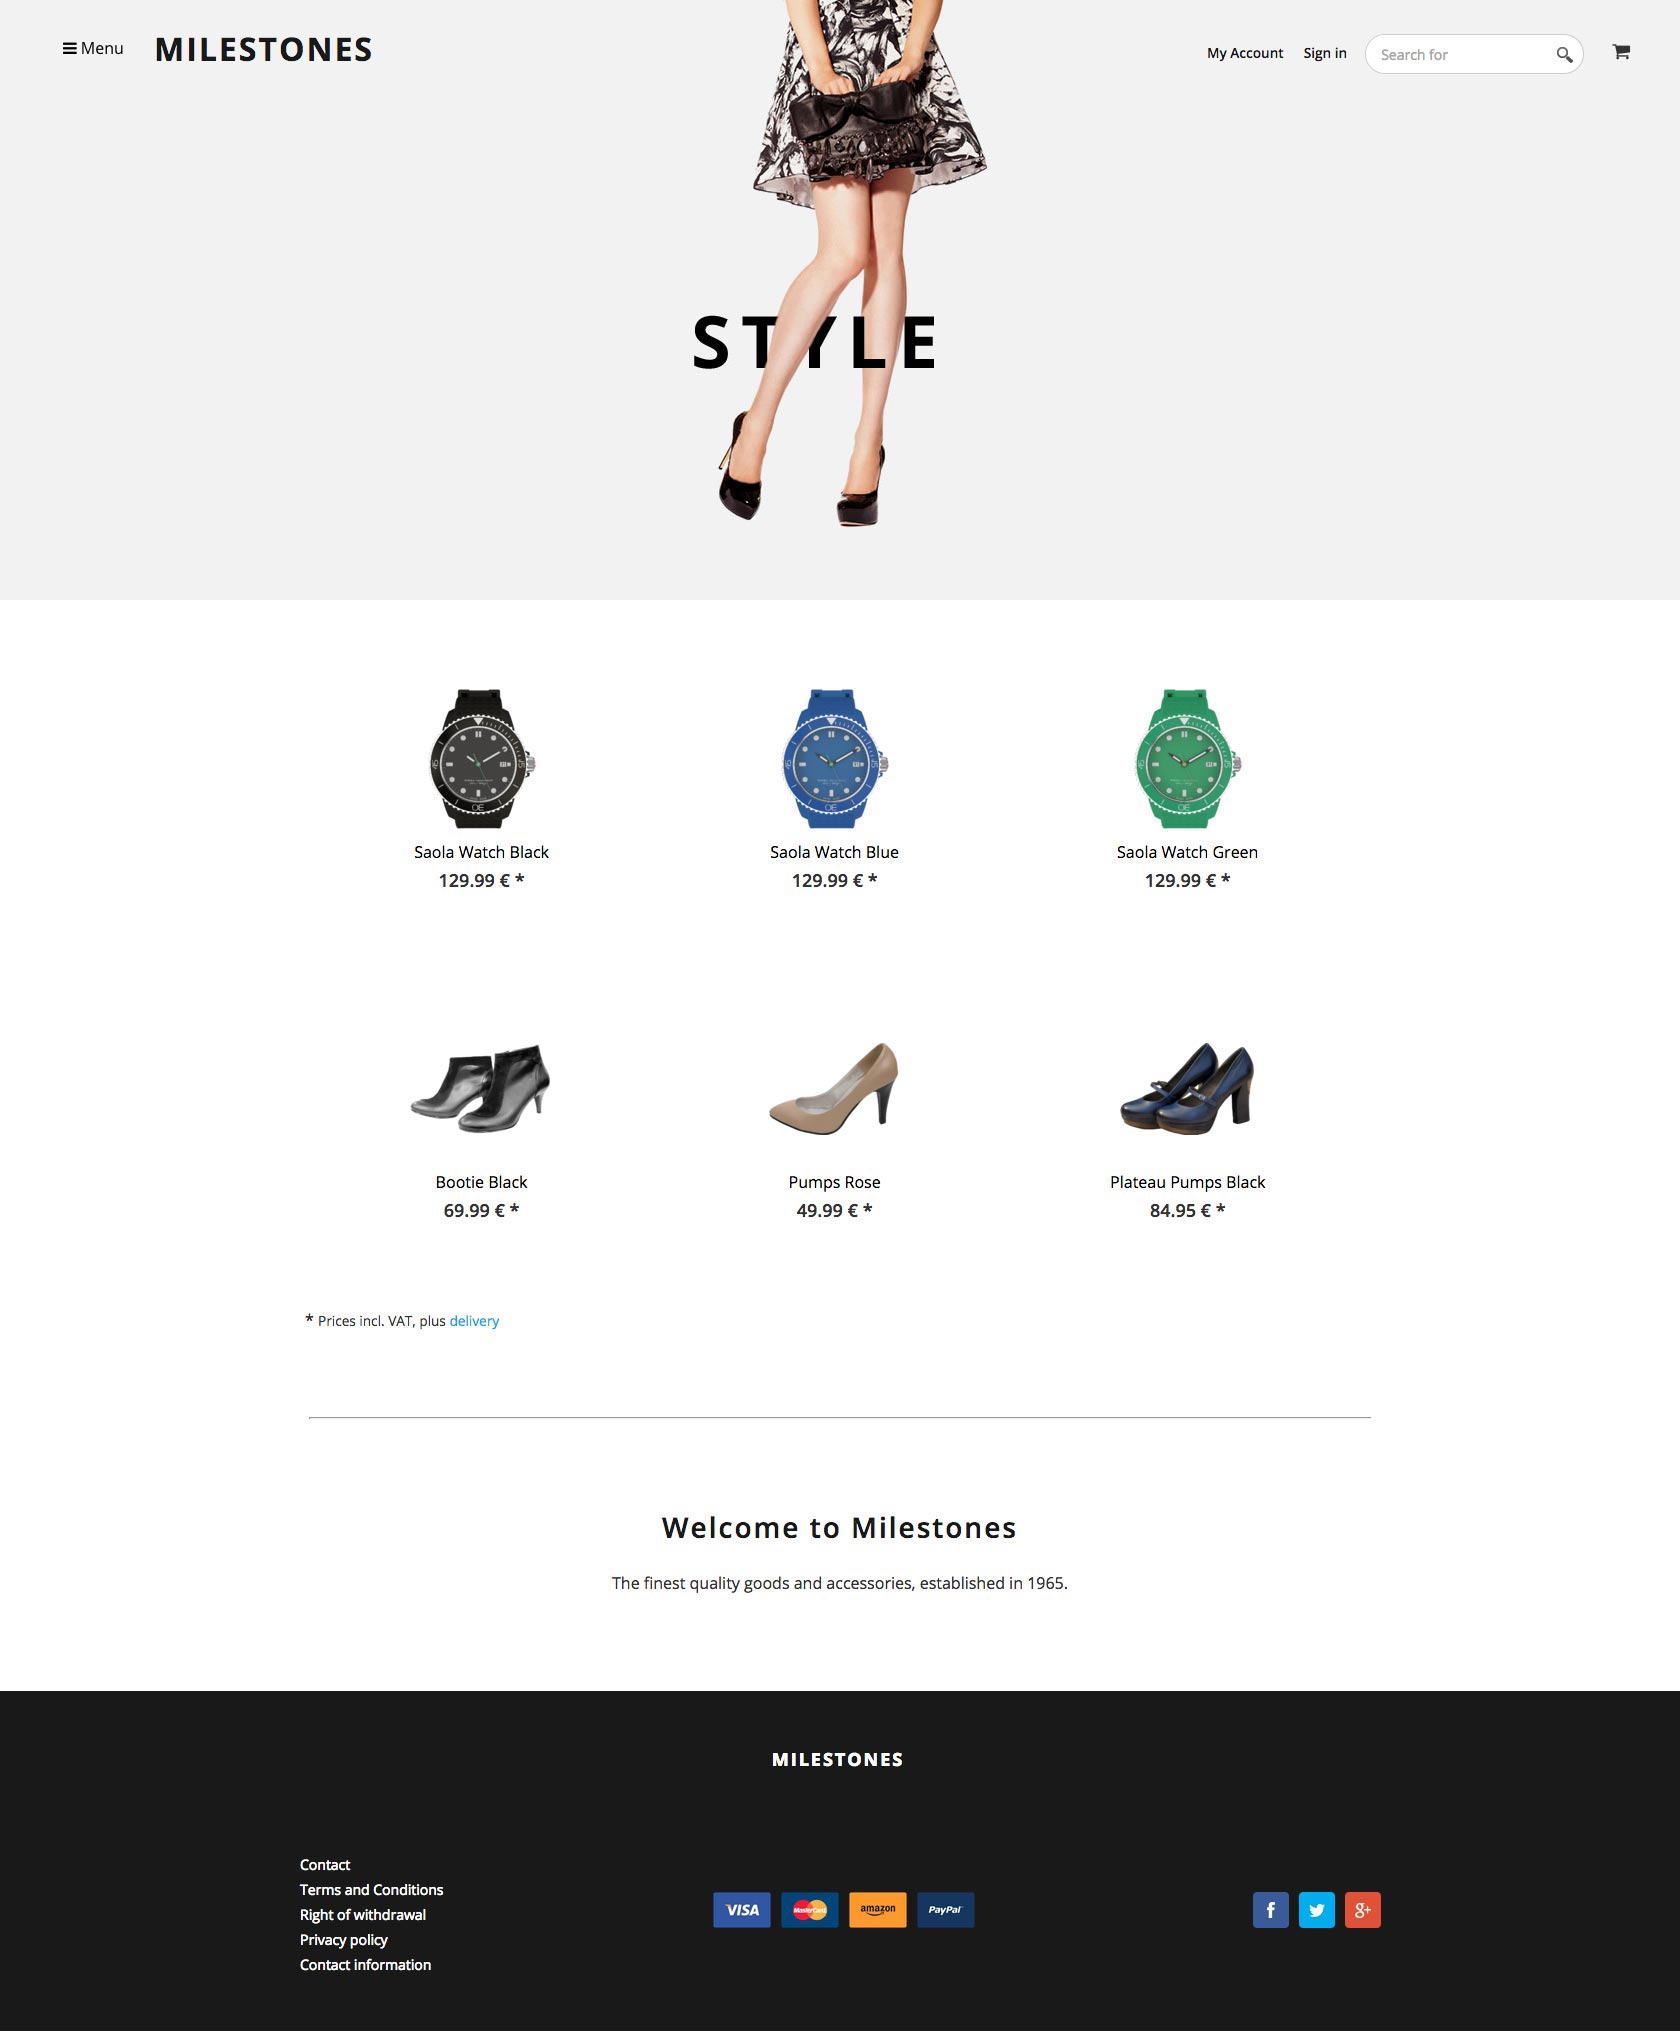
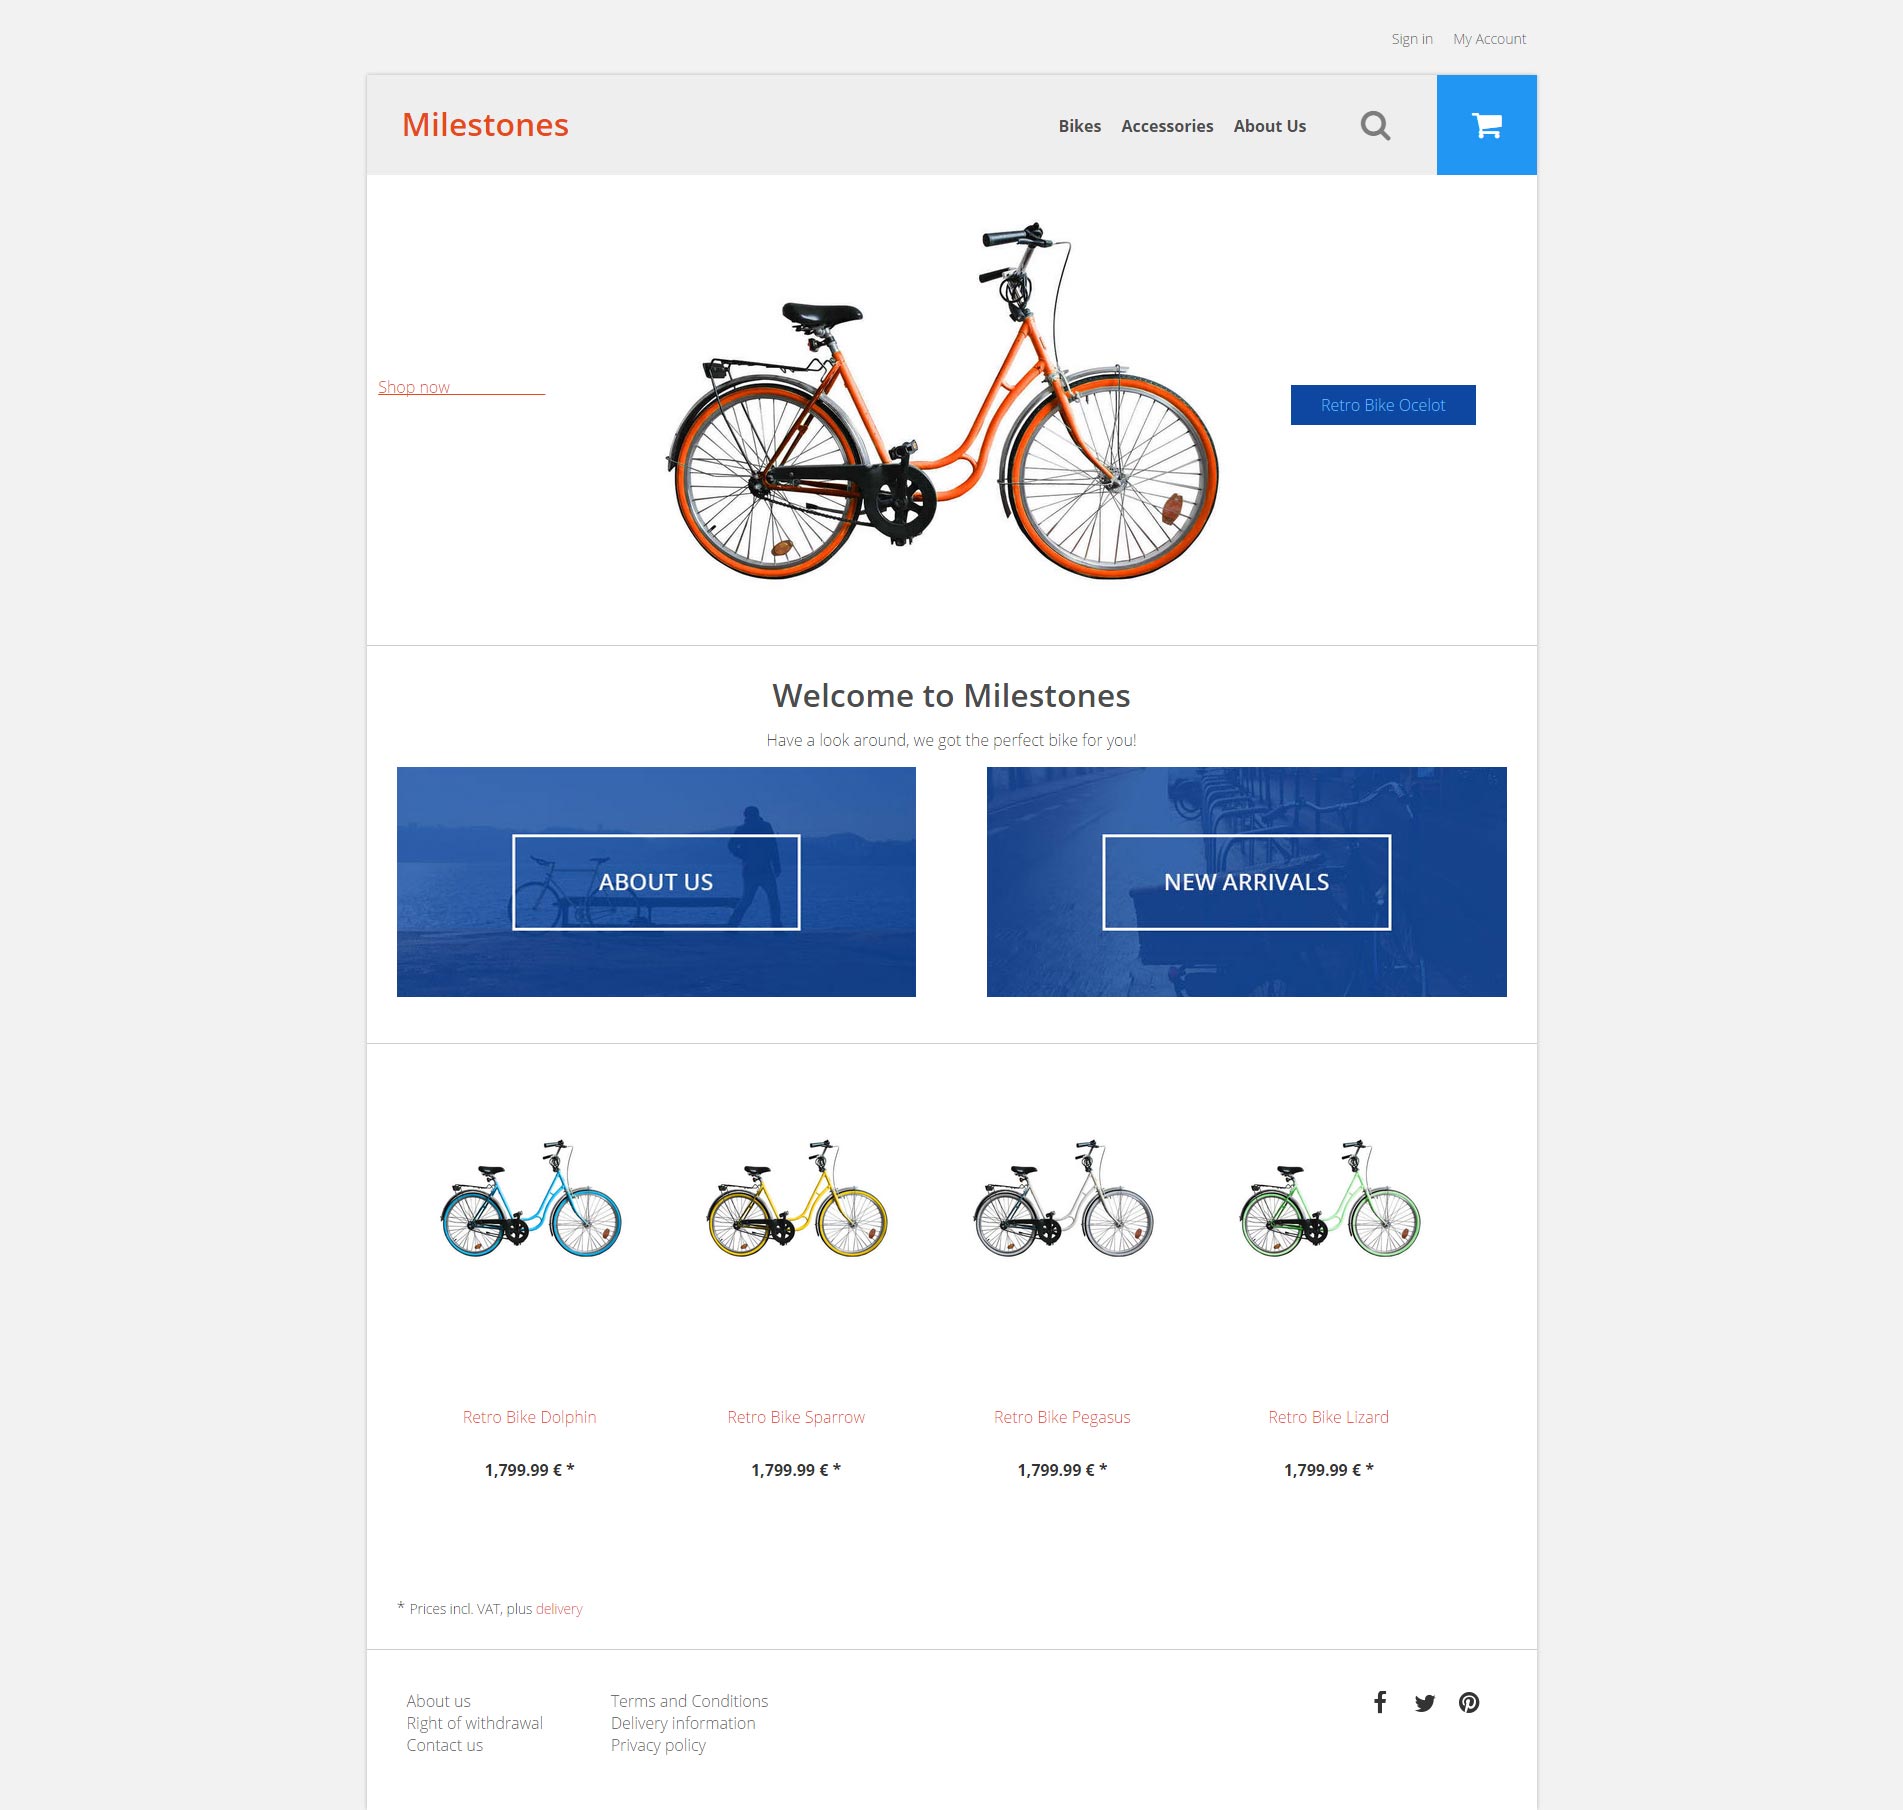
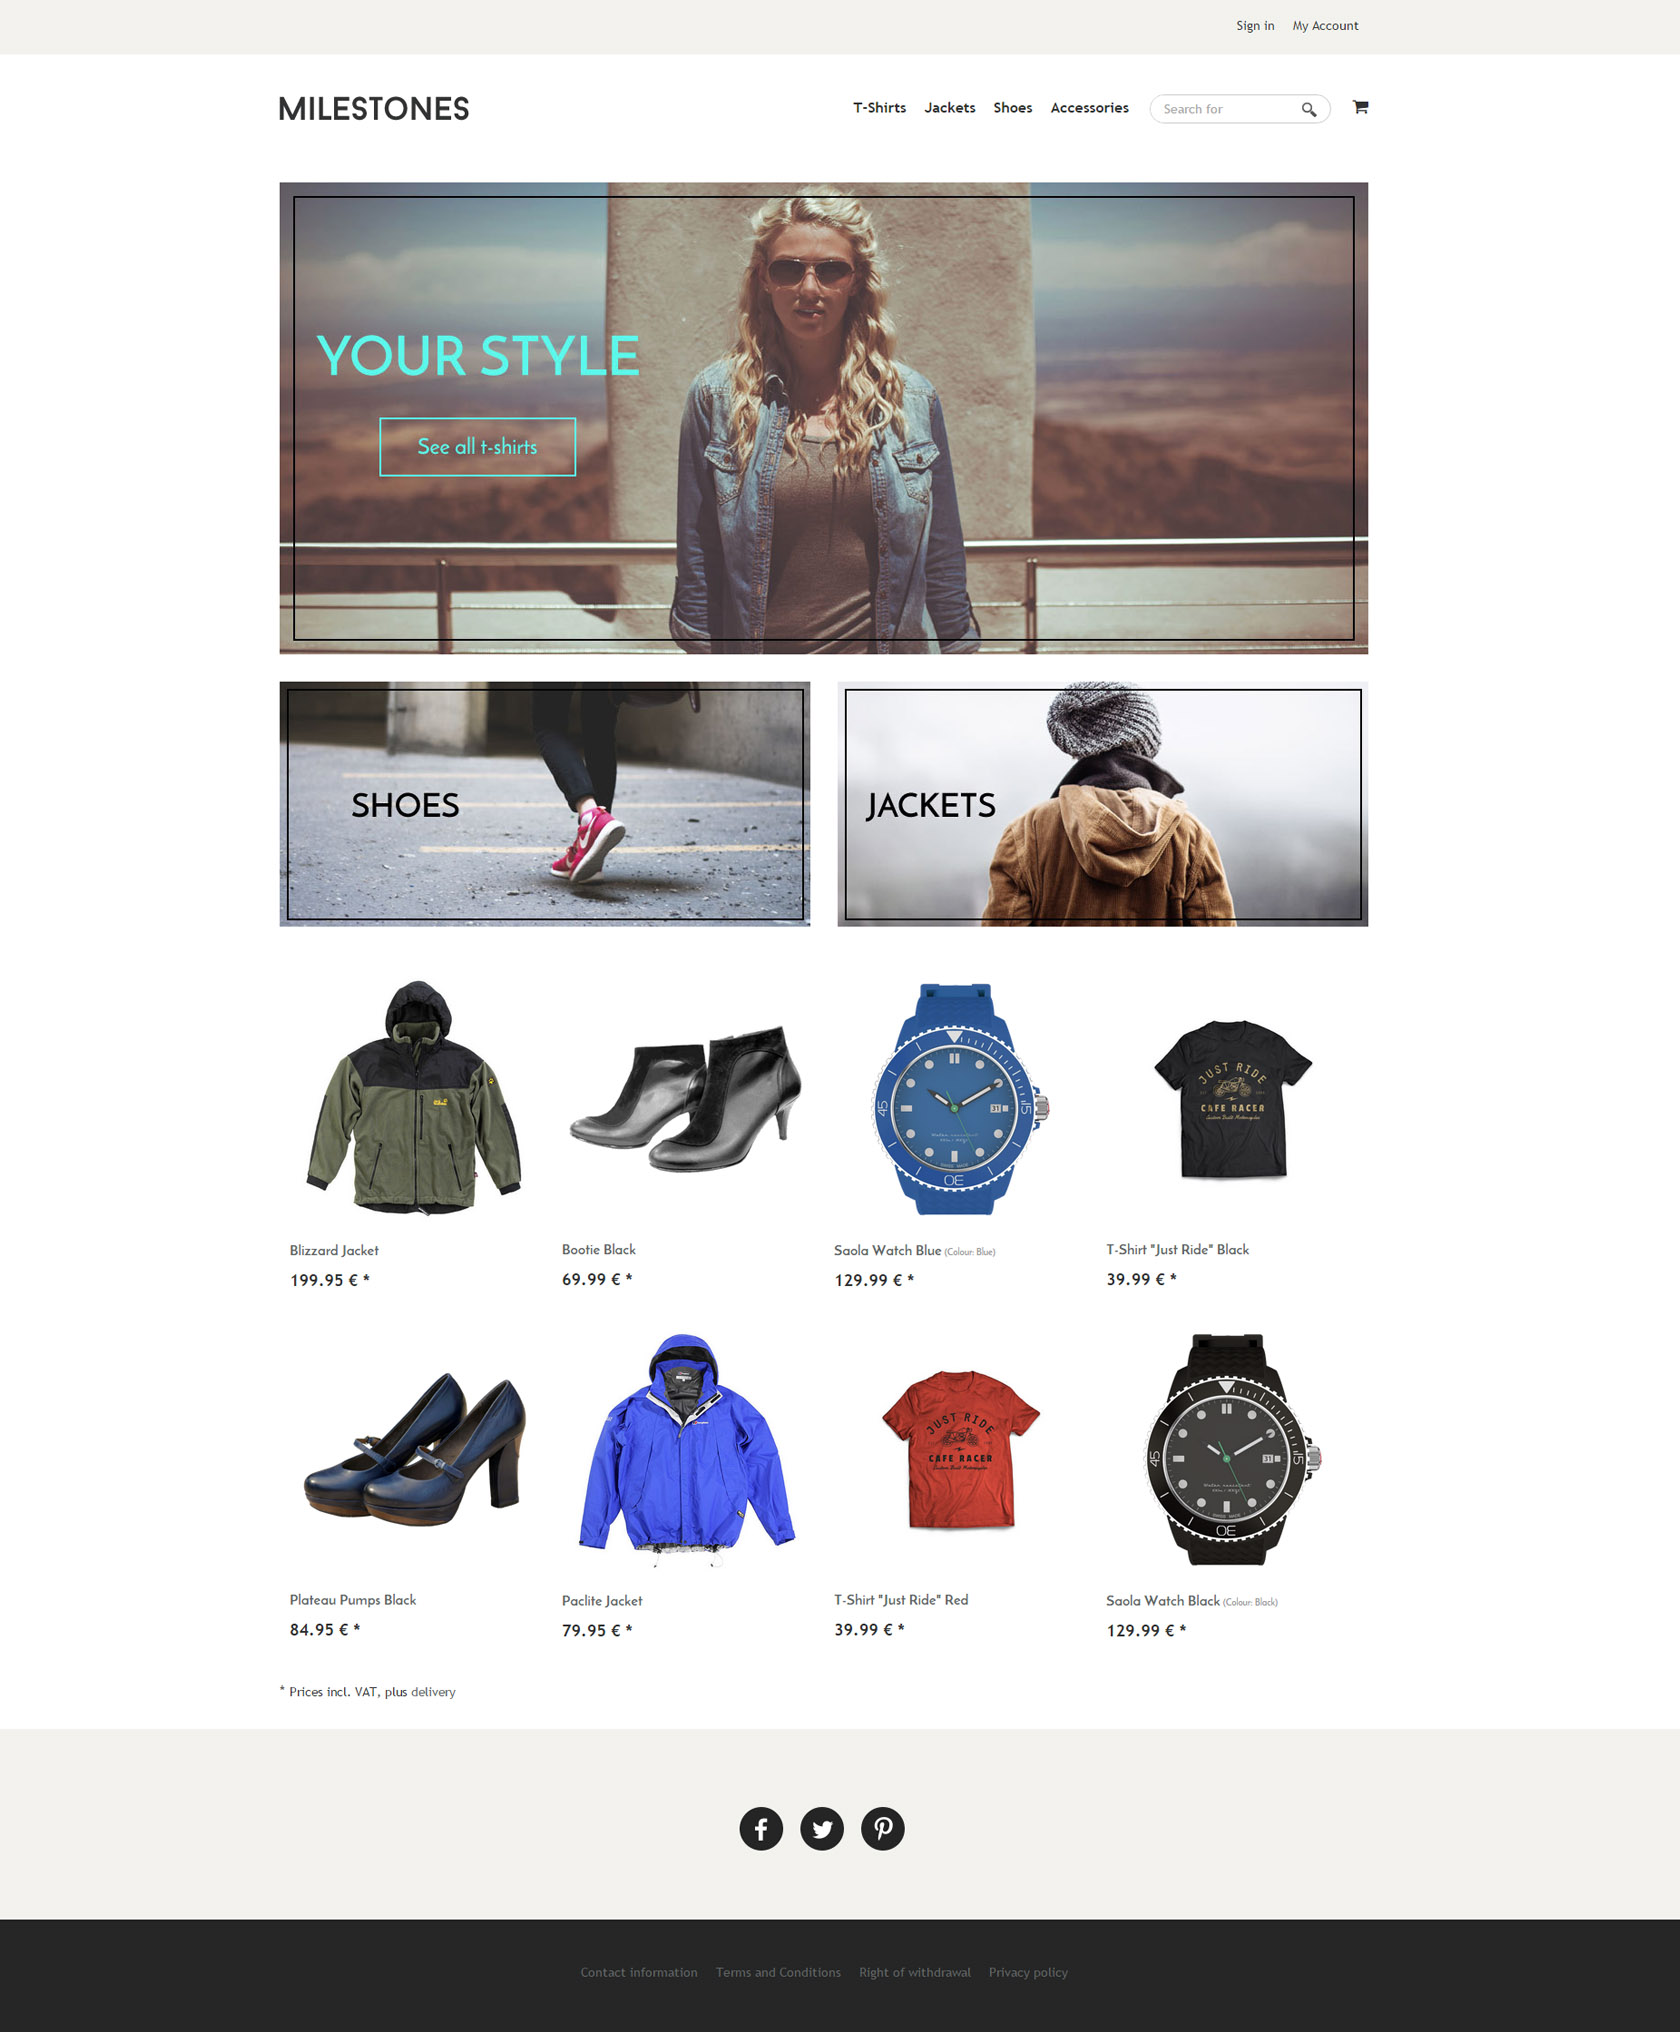
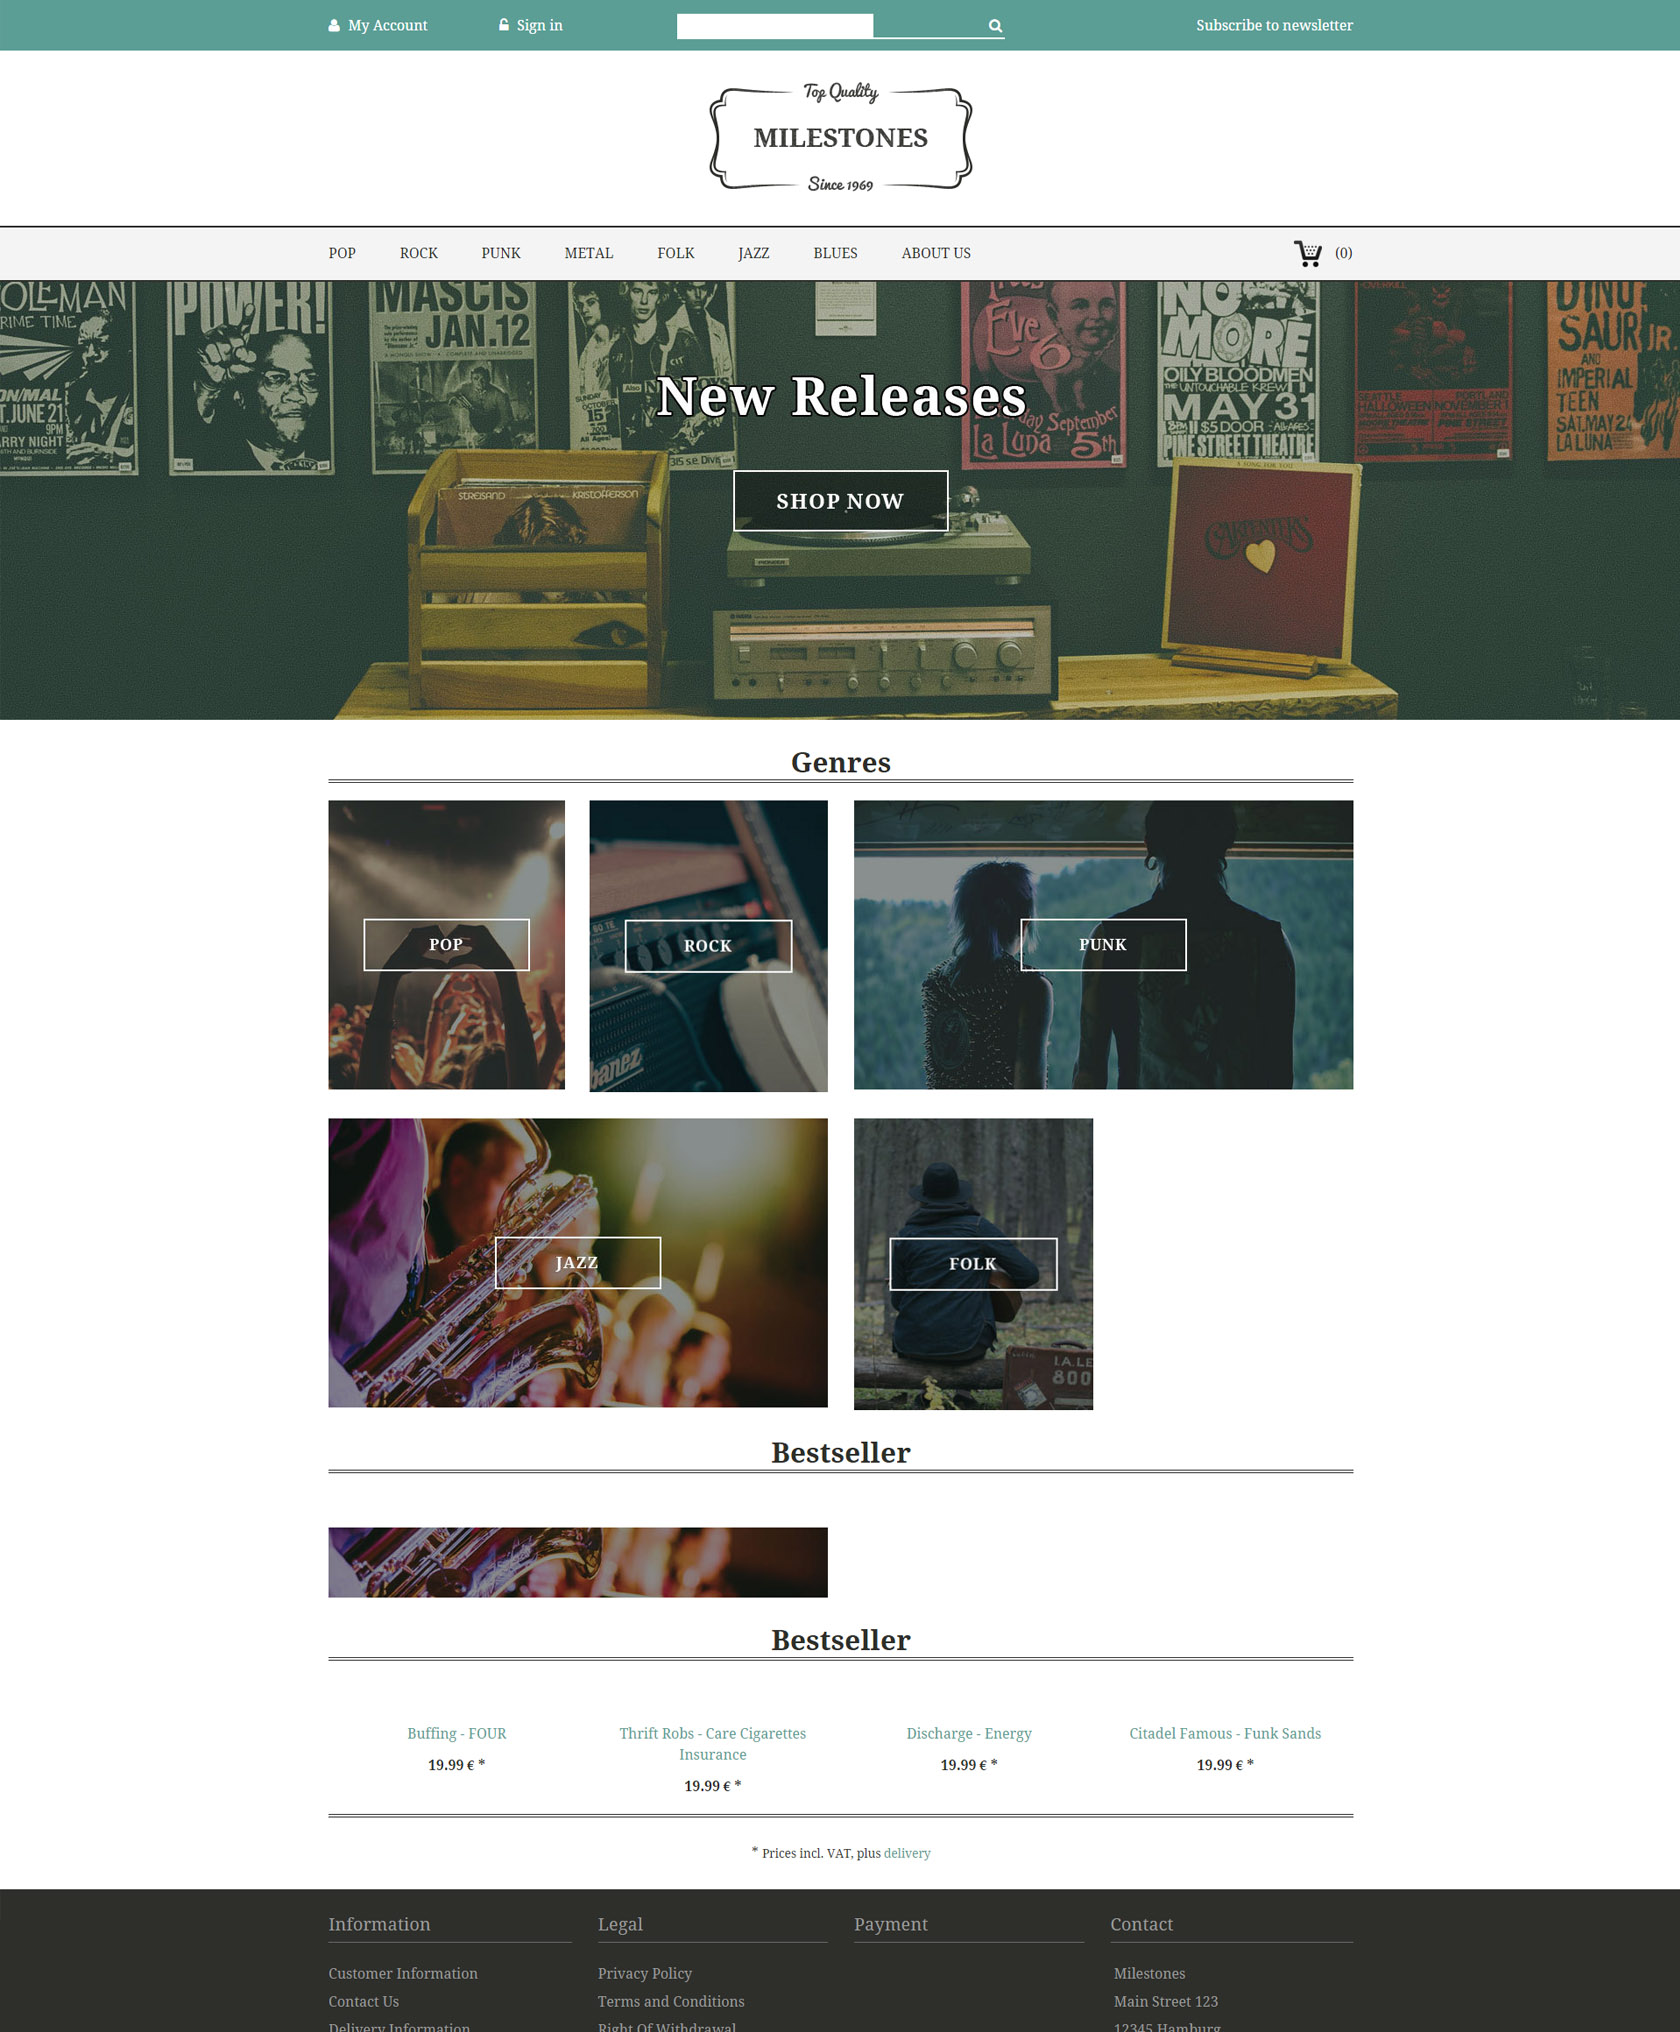
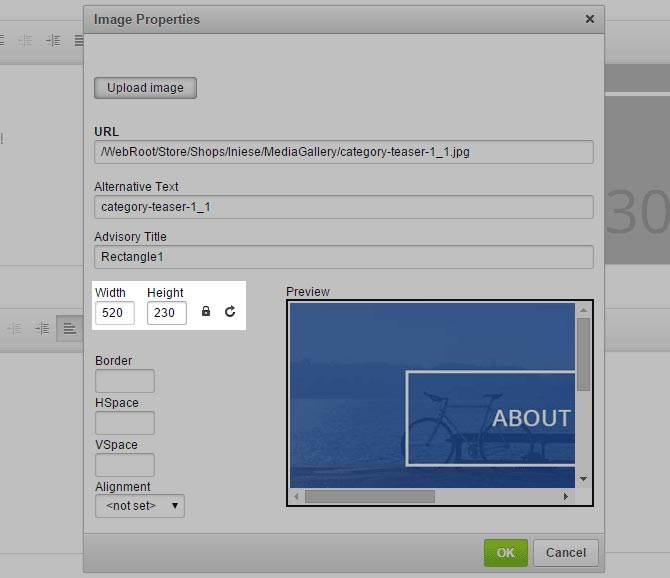
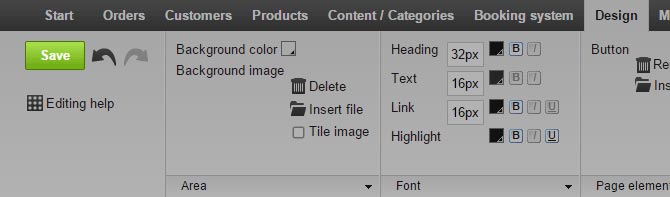
The header consists in a white background combined with a selected product from your shop. We recommend to display a product picture that has a white or transparent background in order to fit with the white header background.

The header image has now been exchanged.
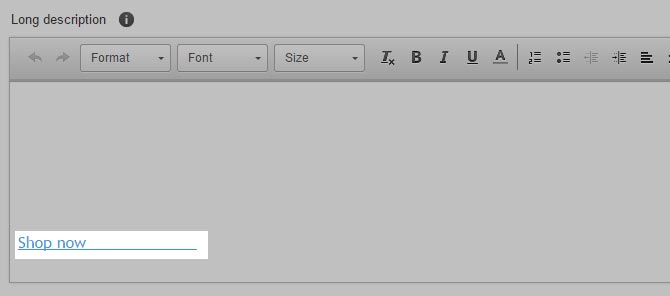

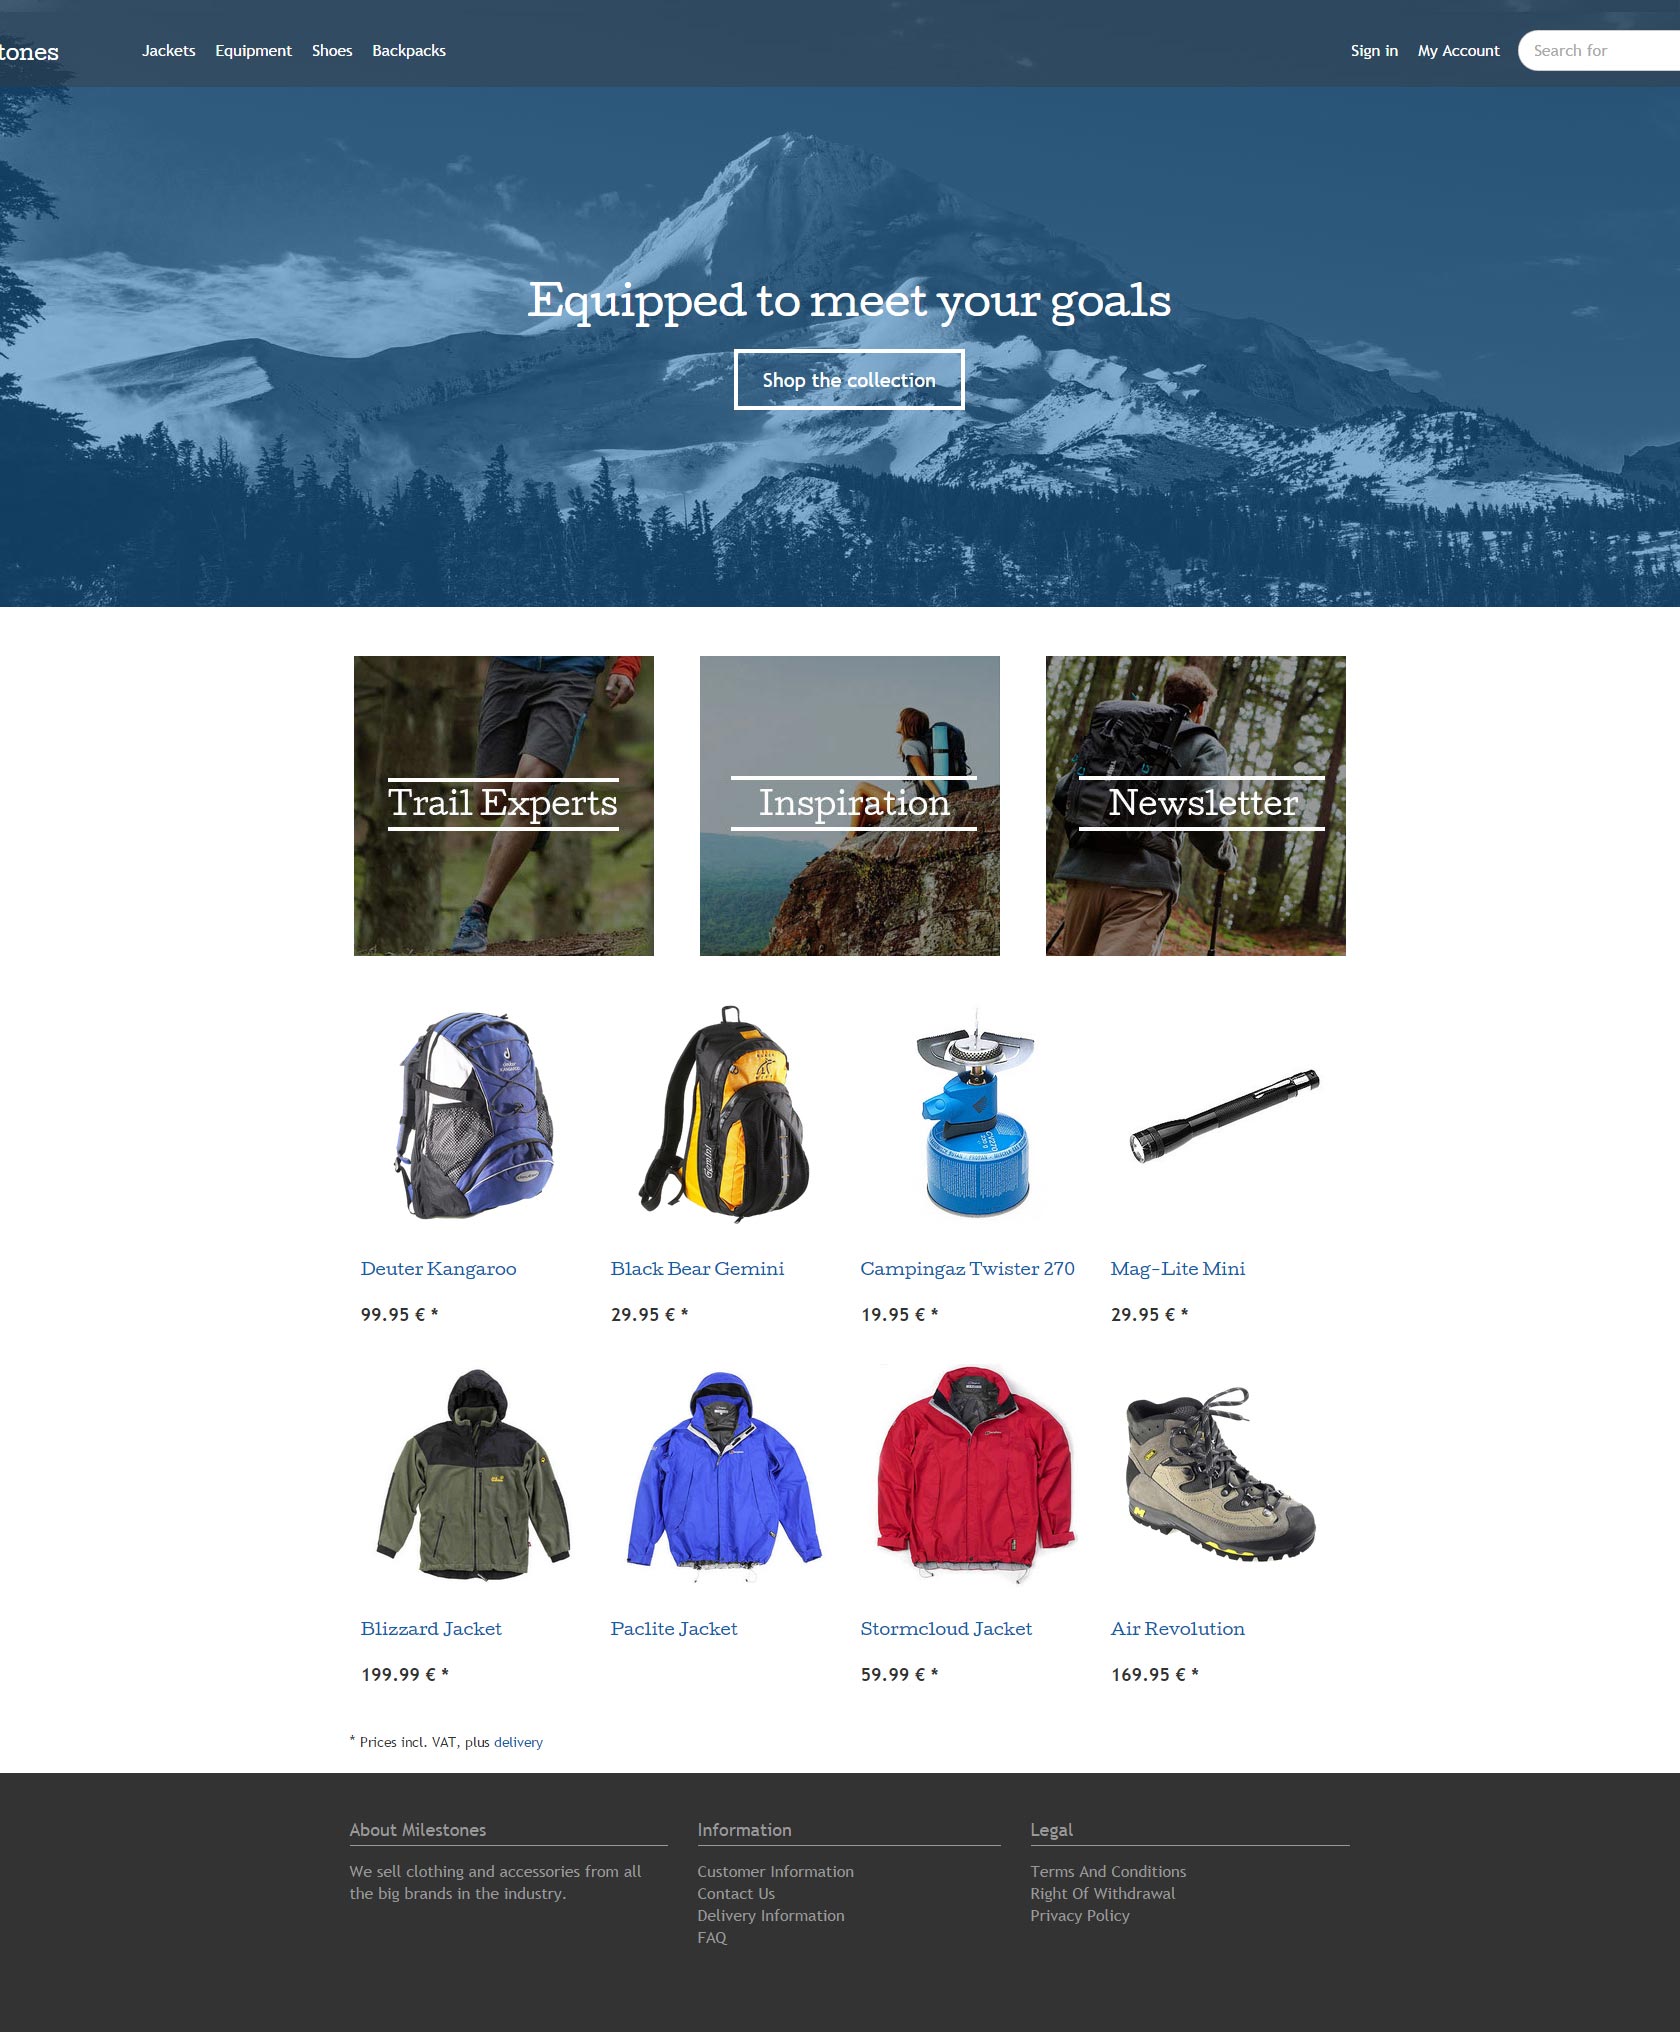
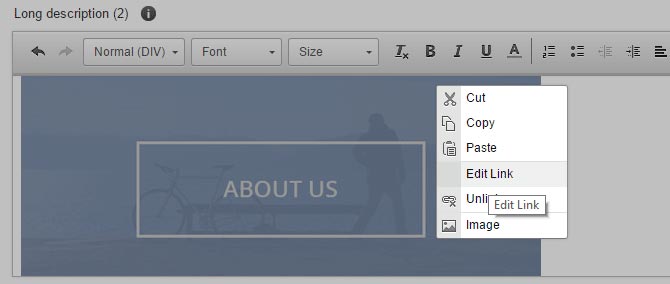
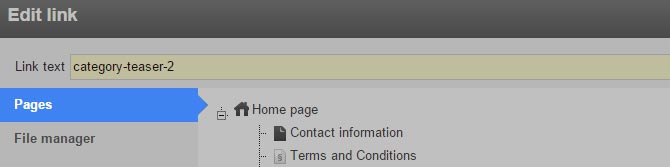
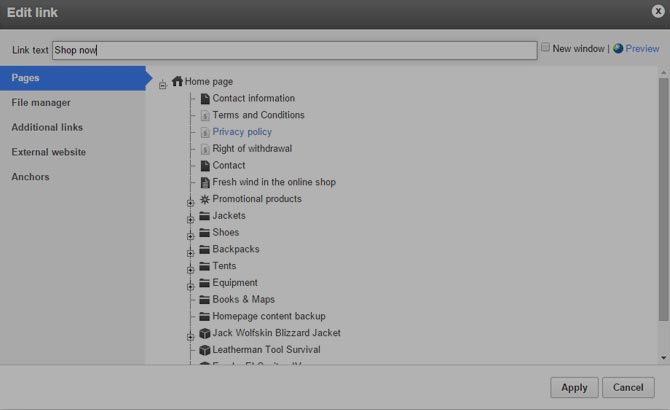
The text and link of the button have now been changed.
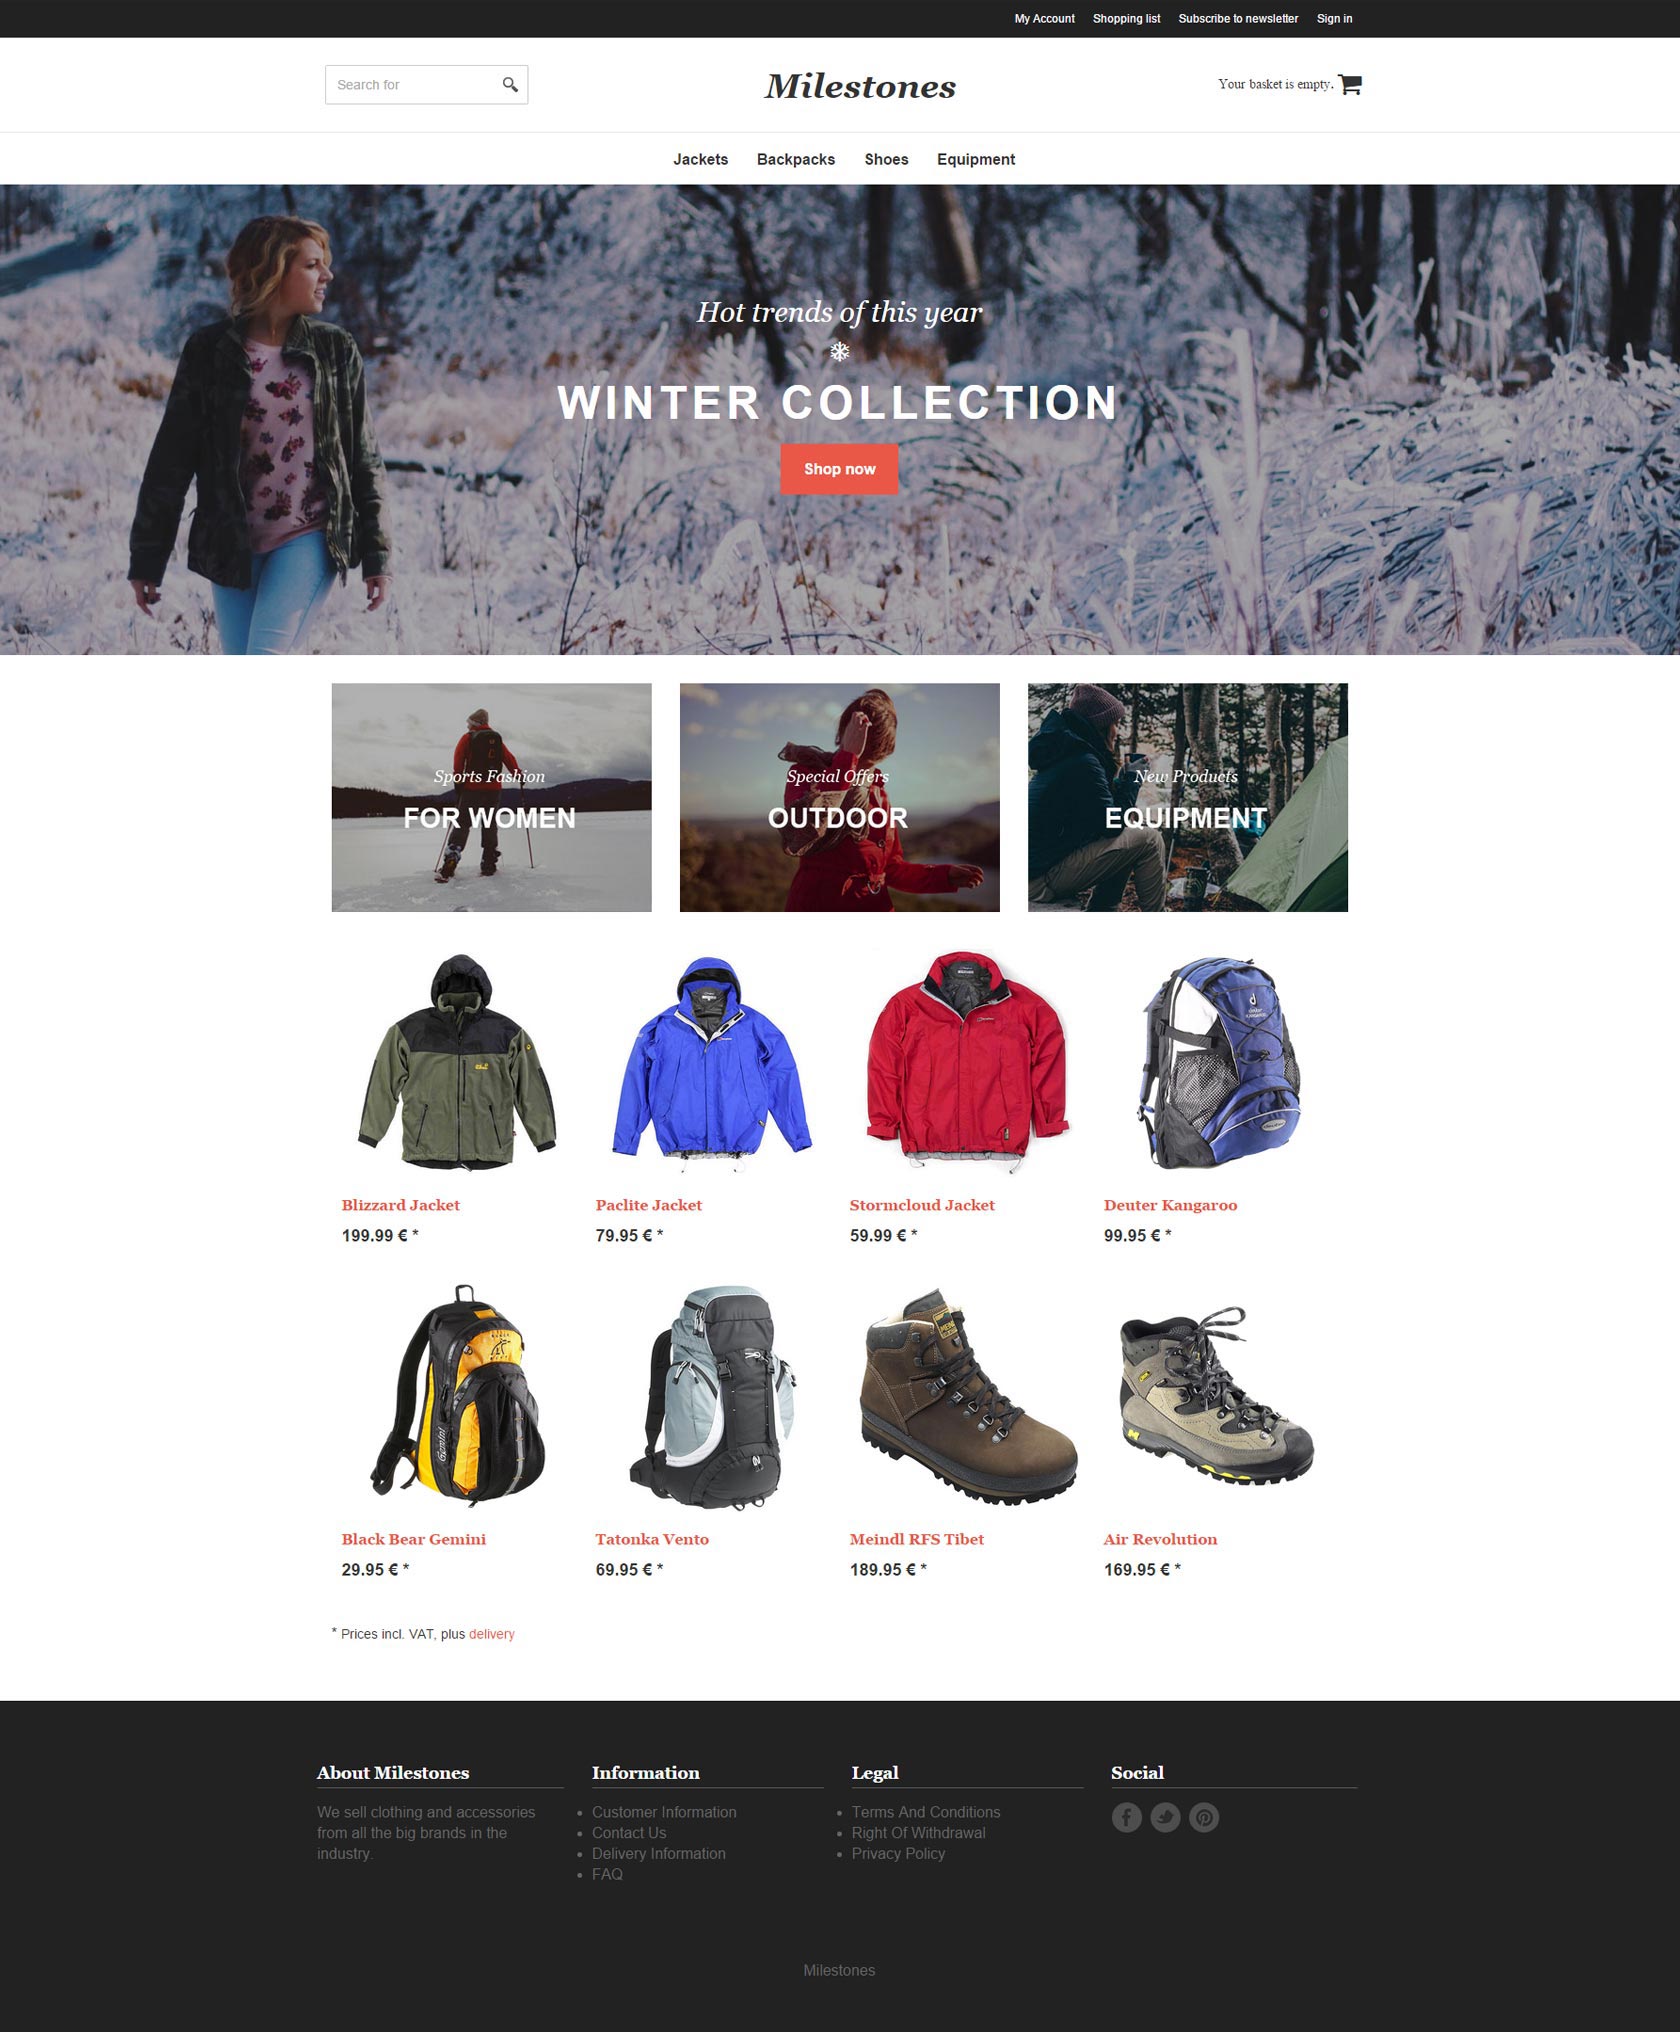
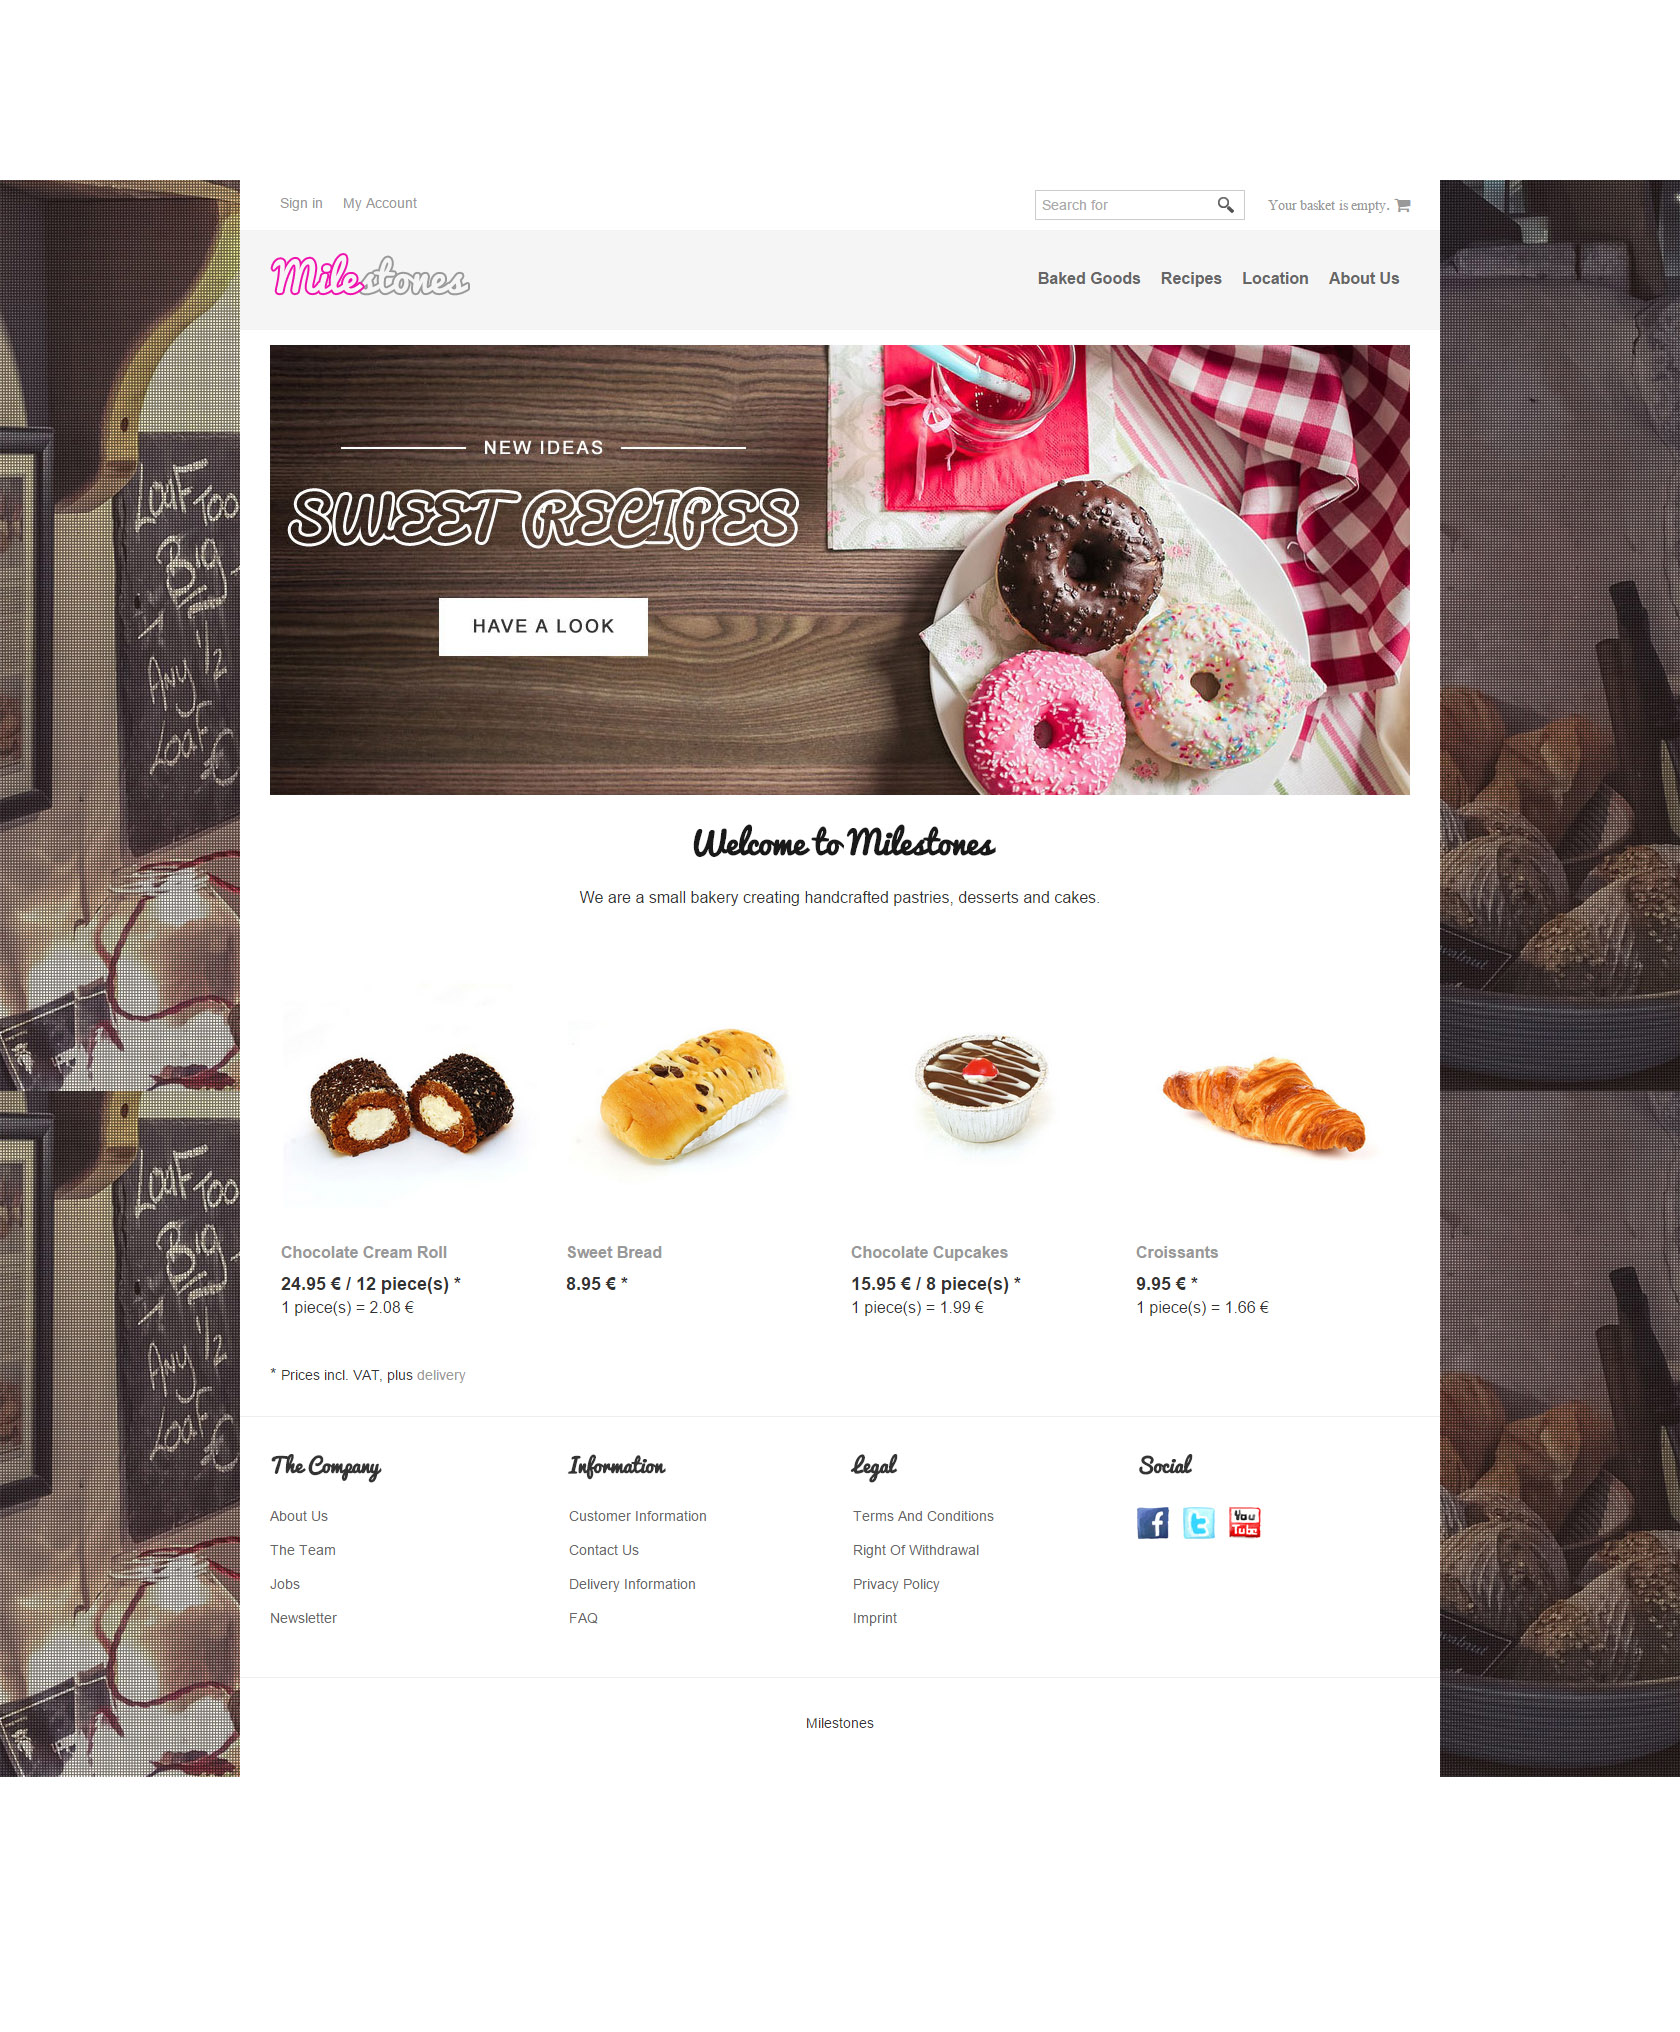
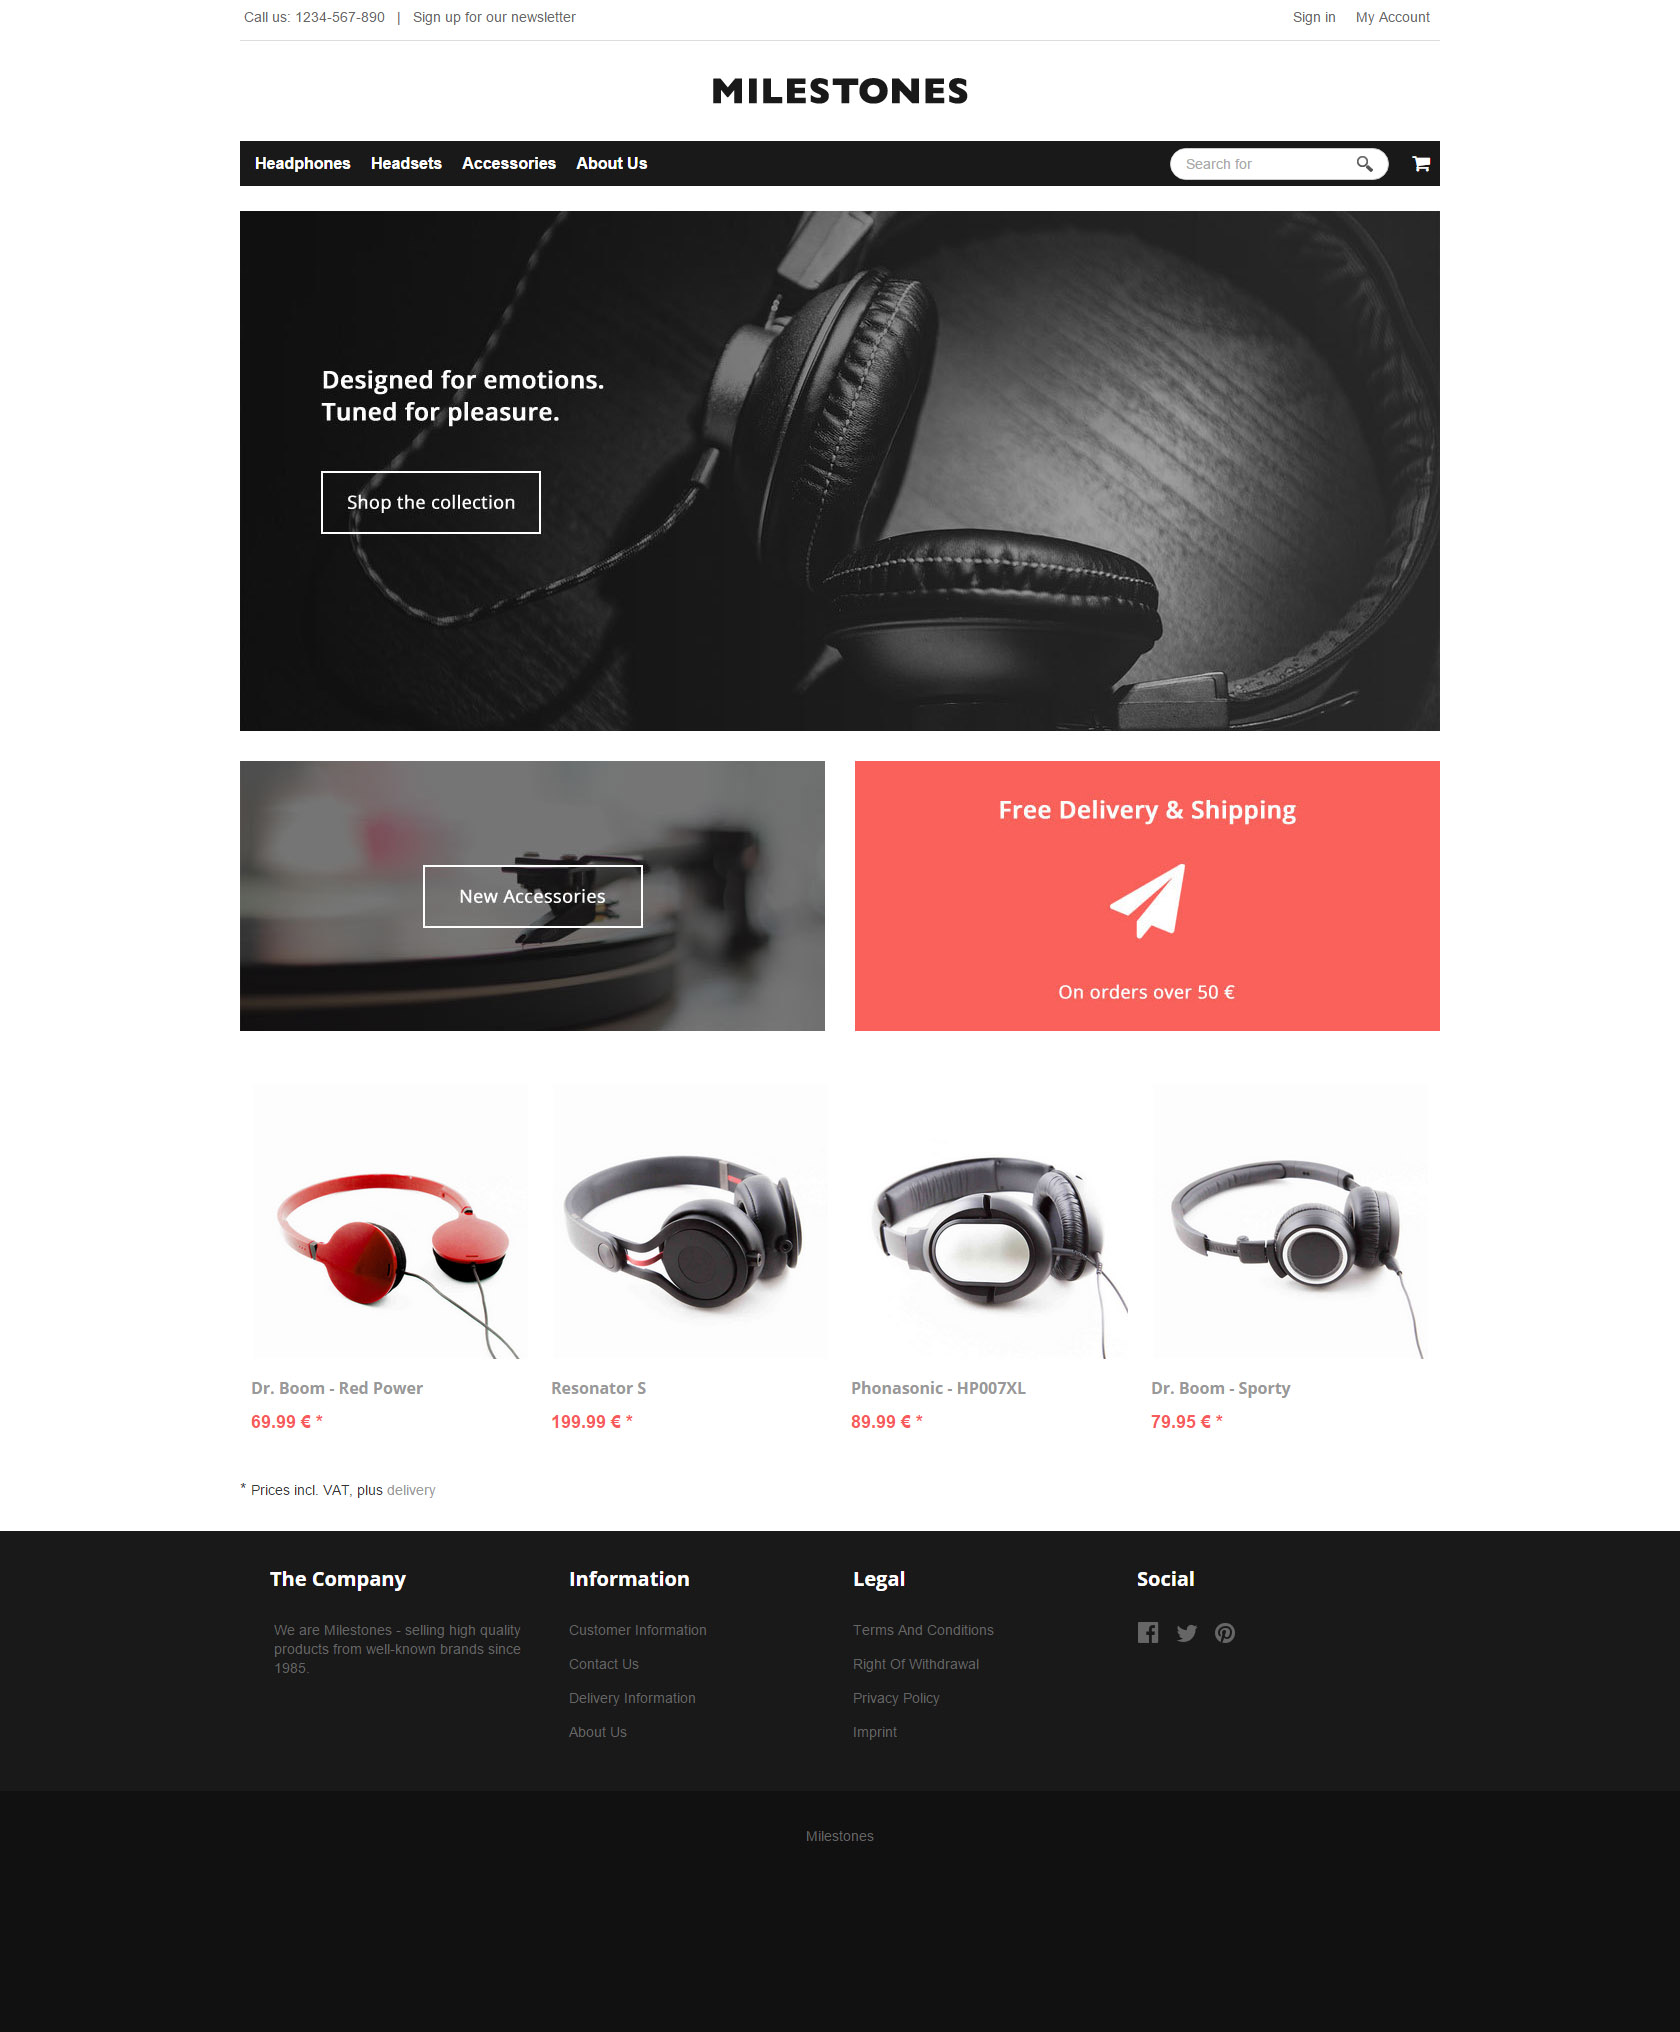
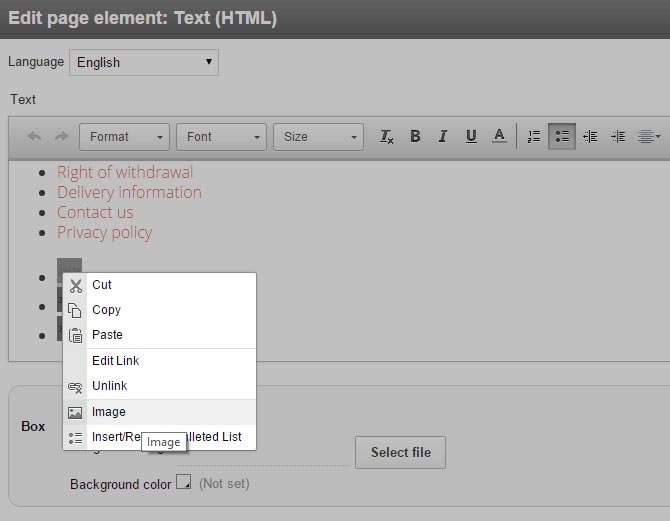
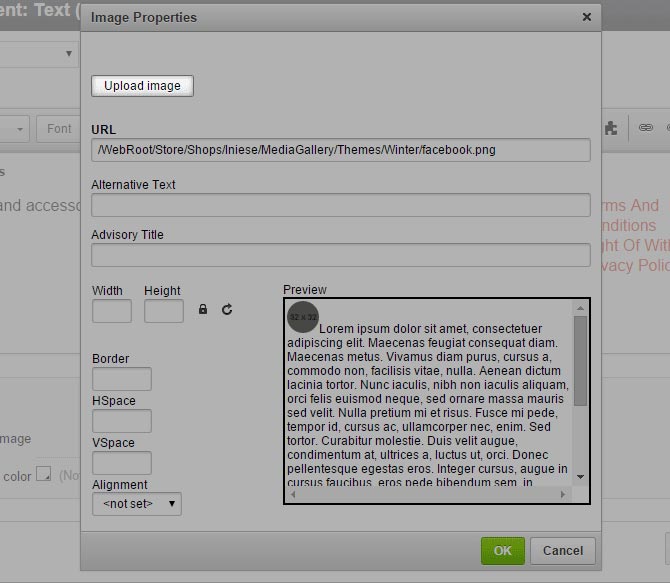
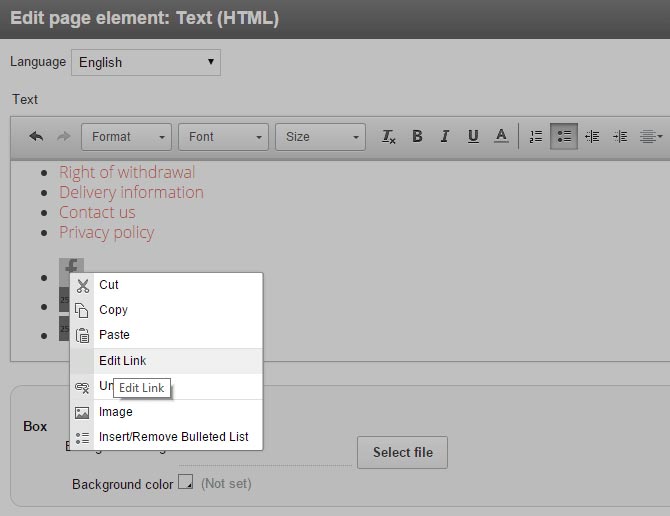
You can display various icons in the footer of your shop. For instance, you can embed icons of payment providers to show your customers how they can pay. Another option is to add icons of logistics vendors in the footer which show your customers the delivery options.
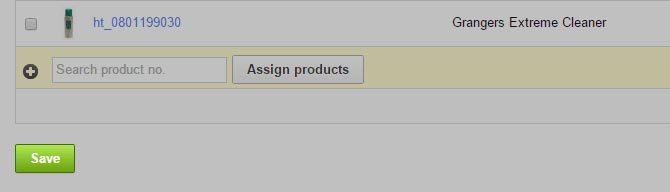
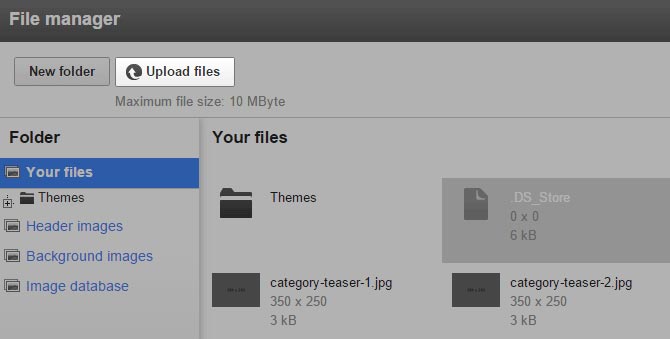
If you want to display icons like that, you need to select them first and then define links for them.
Icons need to have a size of 24px x 24px. If your images do not have the right size, you can re-size them directly in the administration area of your shop.
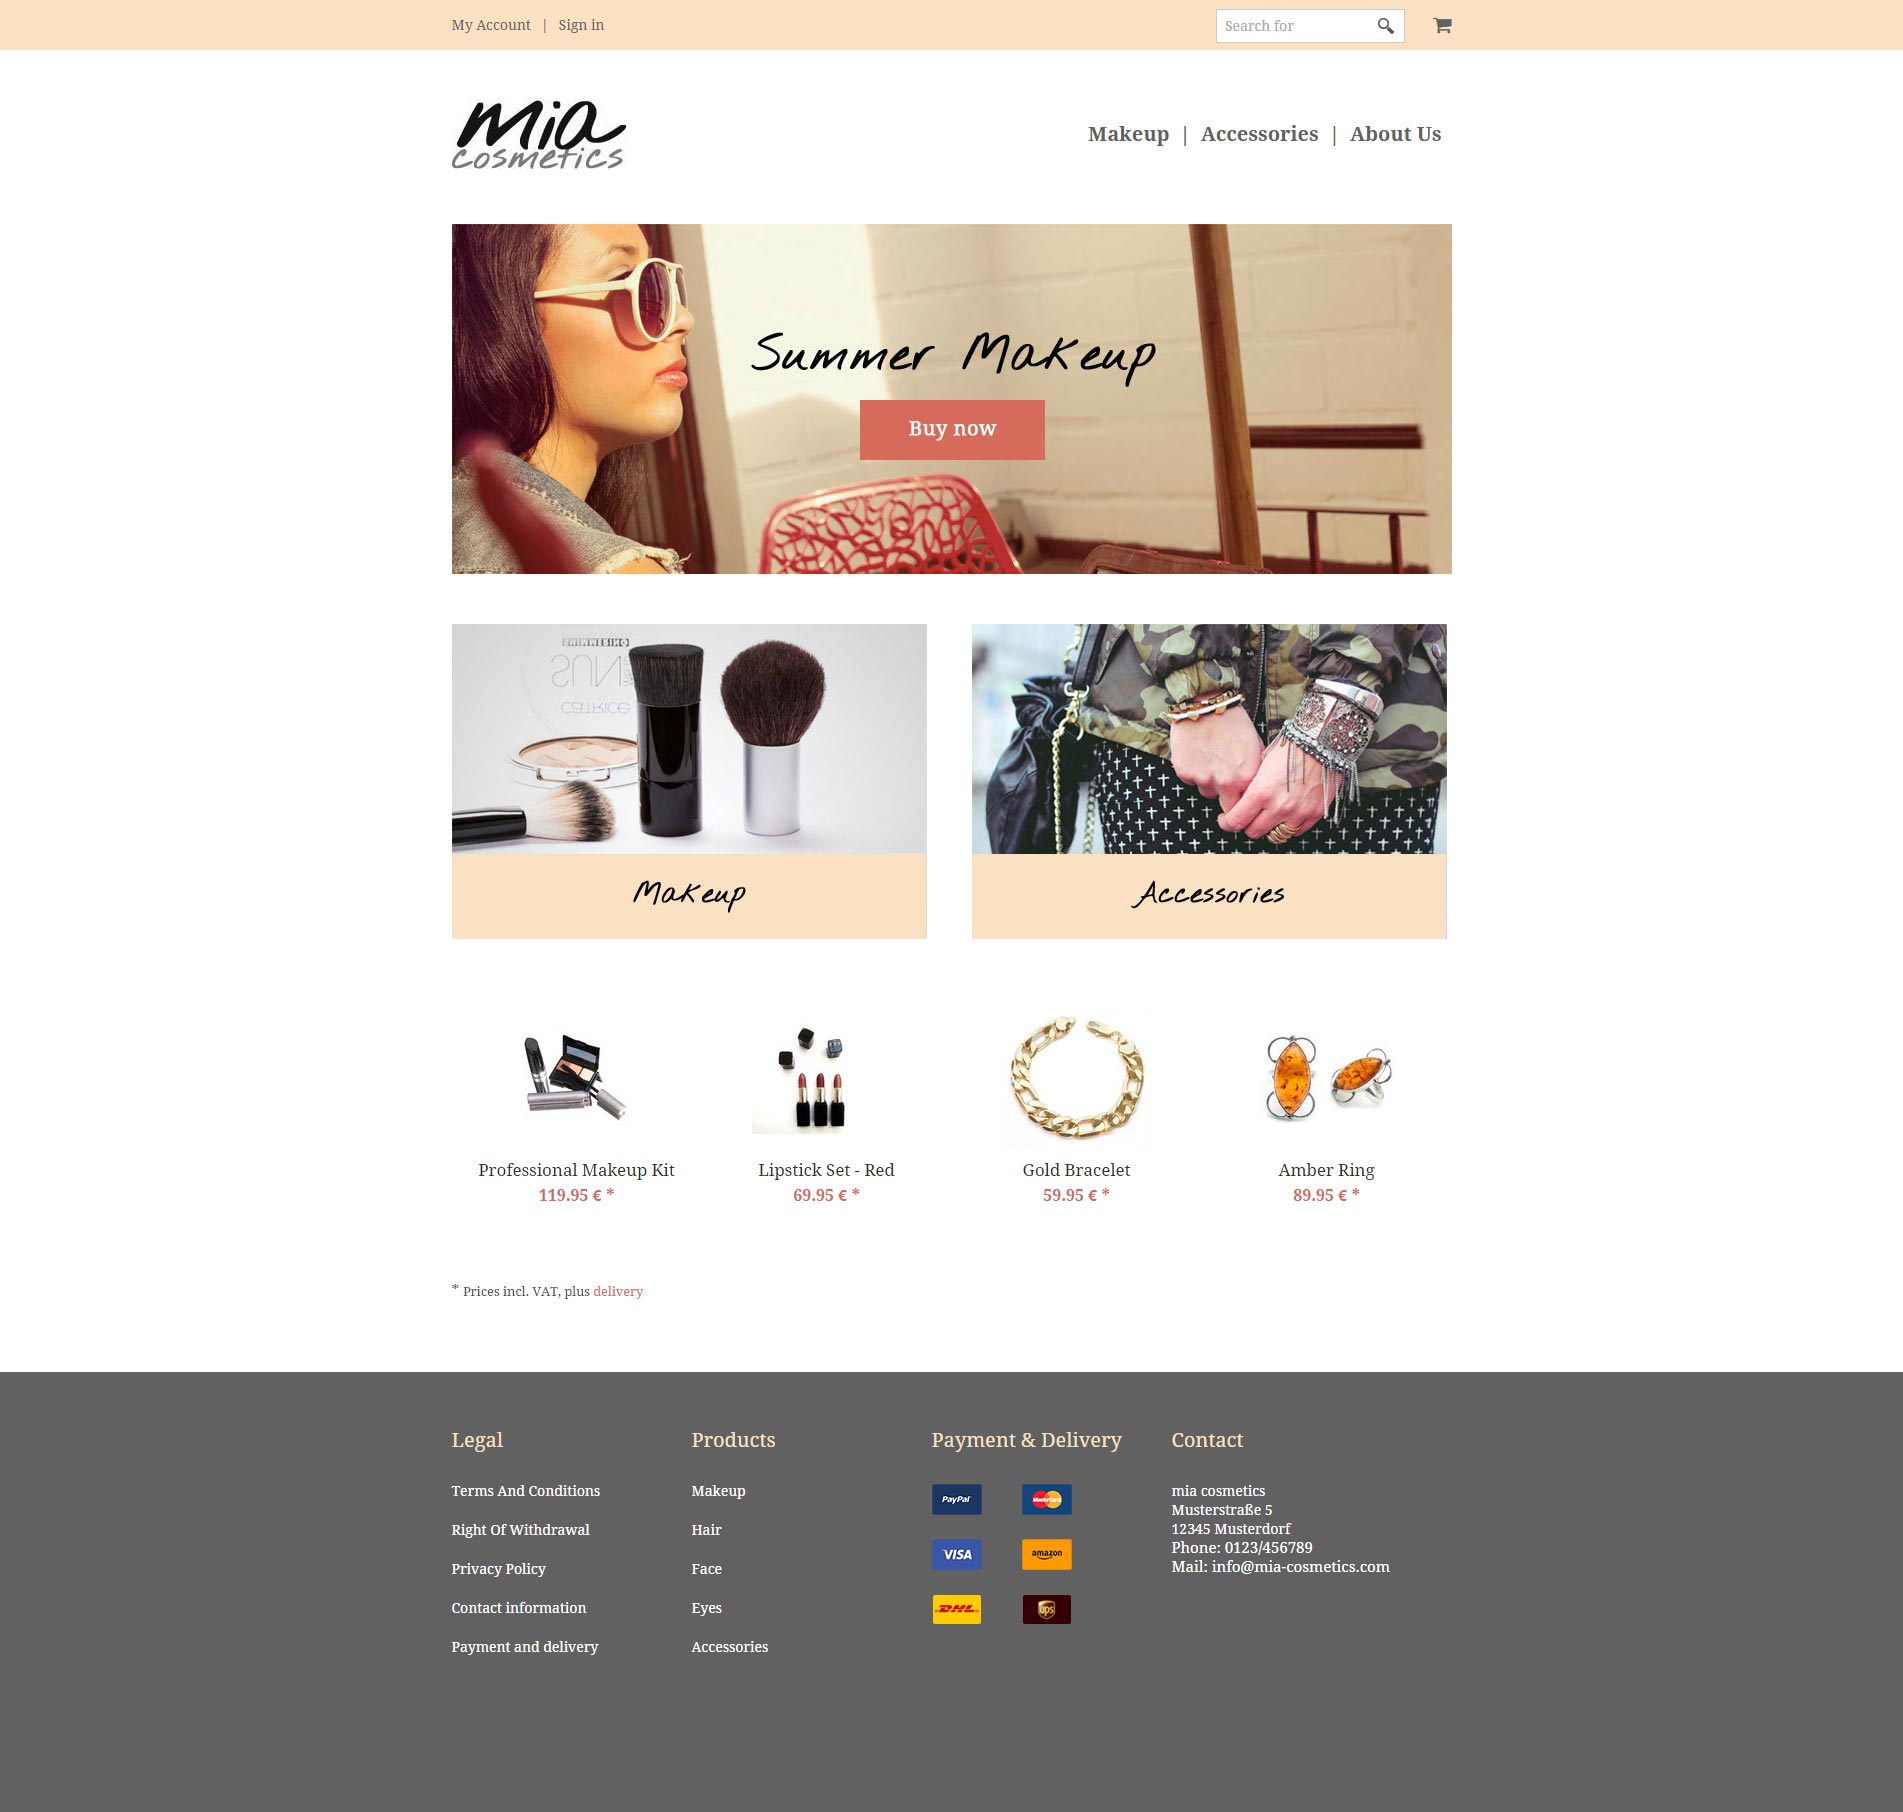
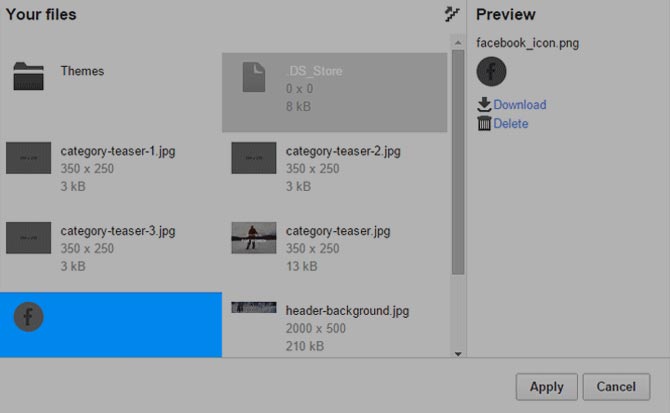
The icons of payment providers and social media icons which were used in the demo in the ePages Theme Store are not included in the purchased theme, but you can download them here for free:
In addition, you can also display any other icon types in the footer such as social media icons or certificates.

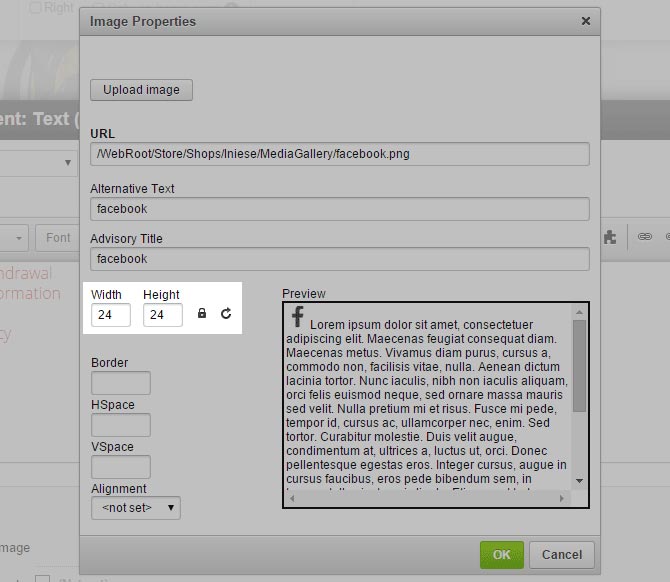


The icons have now been changed.
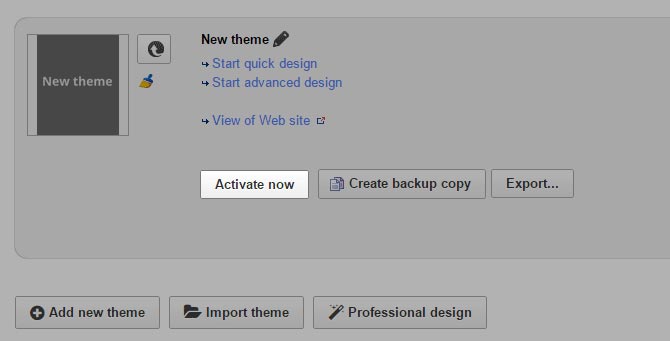
Your new theme has now been activated.
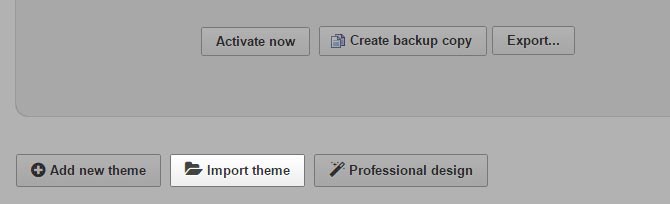
If you are already using another theme in your shop, please create a backup copy of it before you install your new theme.
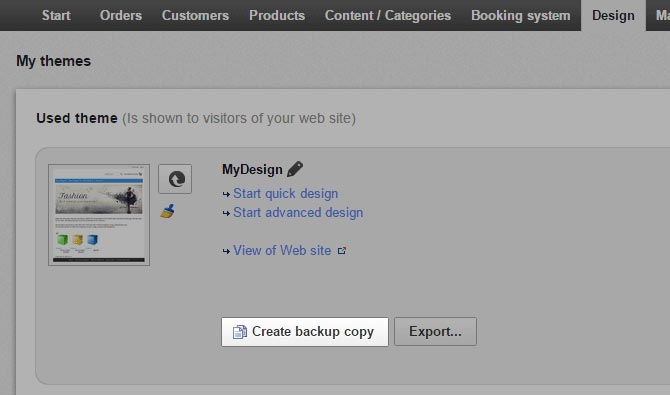
A backup copy of your active theme has been successfully created and can be found at the end of the page.
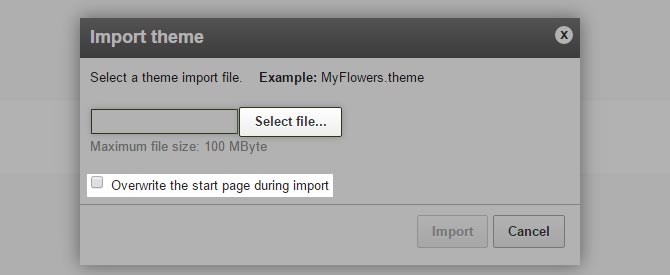
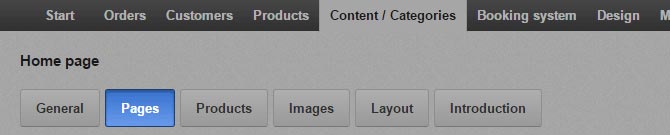
If you are already using another theme in your shop, please create a backup copy of your active home page content, such as images or texts.
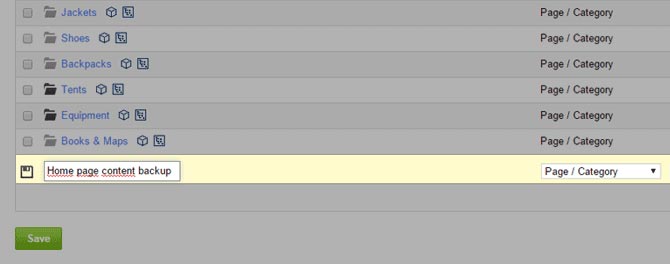
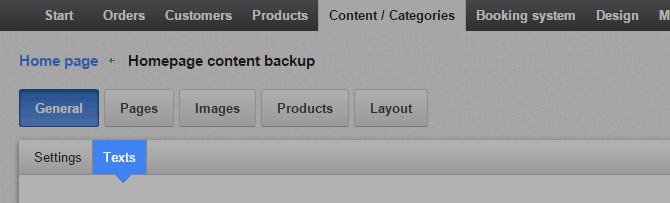
You have now created a backup copy of your home page content successfully. You can now move on to import your theme by overwriting the home page with the import.
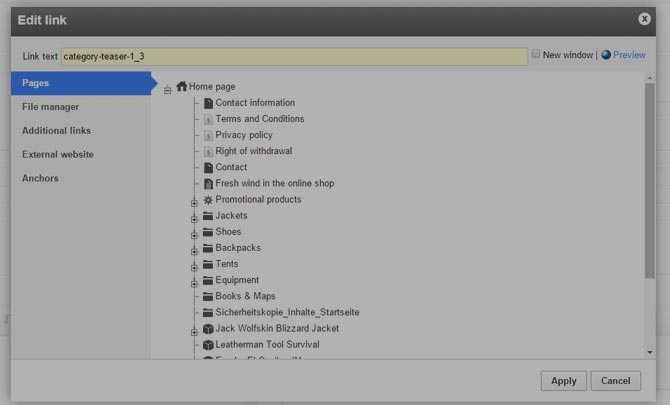
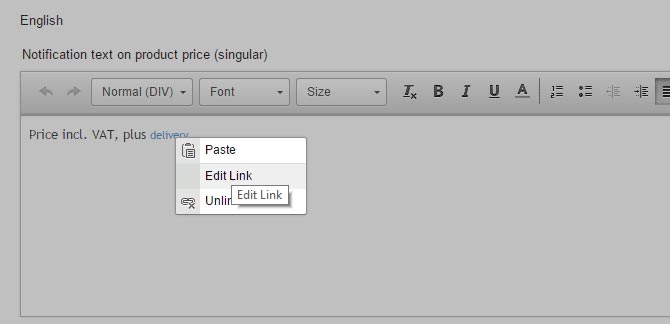
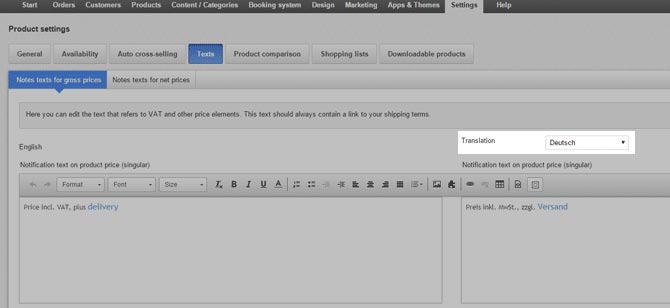
On your shop’s product pages, there is a link called “delivery”:

If you did not change the standard settings and linked to another page, this link leads to a special page that takes the content of your right of withdrawal page and displays it separately. This special page might not be compatible with the new theme, therefore you need to link directly to the right of withdrawal page.
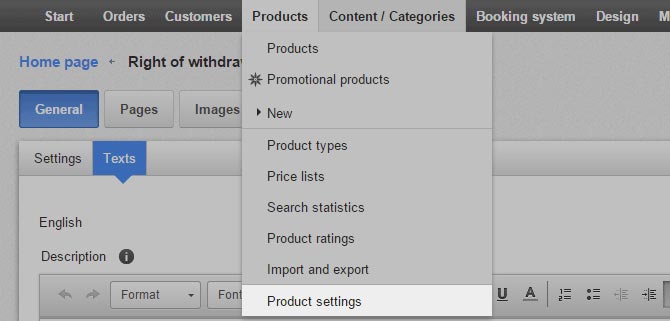
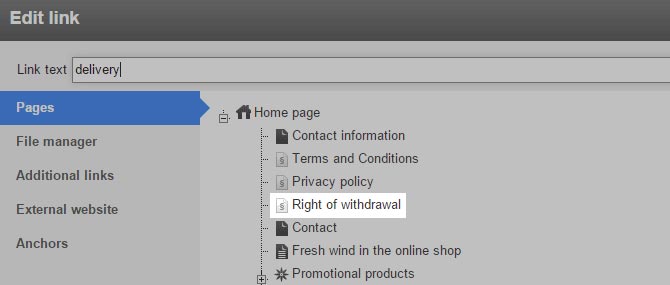
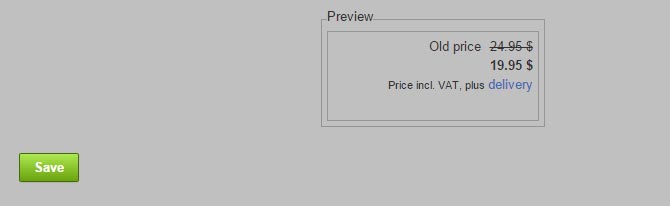
The links now lead to the correct page.
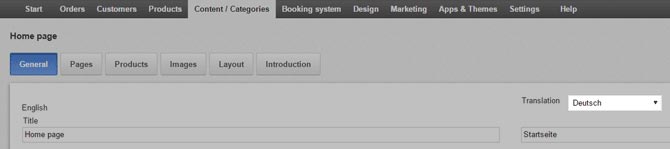
It is possible that some elements do not appear in the footer and the header when you try to edit them in the Advanced design of your imported theme. If this occurs, it is due to your language settings and can be easily fixed.
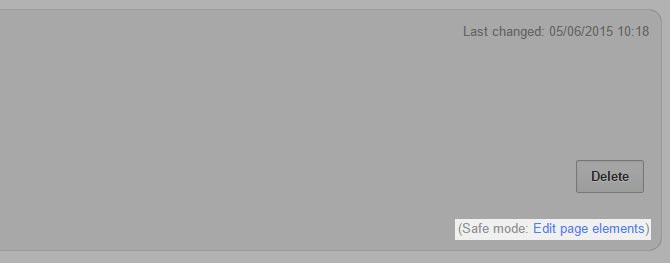
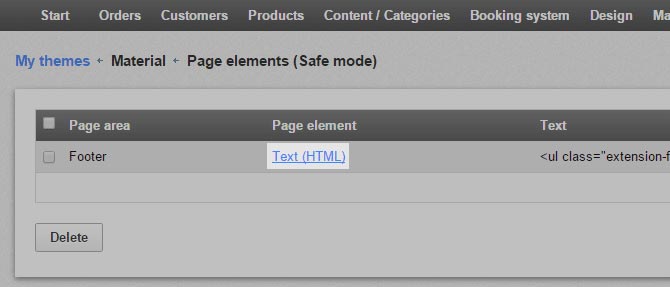


You can now edit the page elements in the header and the footer.